It’s a hearty, flavorful chicken chili that really hits the mark. I love that it’s made with ground chicken instead of beef for the health benefits. Some chicken chili’s are intended to be lighter styles of chili. Not this recipe. This is a more traditional style chili that just happens to be made with chicken.
Since my family loves beef, and we eat it a lot, this is perfect for those times when we’re craving a traditional chili but need to lay off the meat.
If you’re a fan of chili I hope you’ll try our white chicken chili, Texas chili, my Mom’s classic chili, instant pot white chicken chili, and crockpot white chicken chili next!

Chicken Chili Ingredients
- Oil: Any neutral flavored oil will work.
- Chicken: Ground chicken.
- Onion: Yellow onion.
- Garlic: Fresh, not the stuff that comes in a jar!
- Jalapeño: I remove the ribs and seeds to keep the heat down. What can I say? We’re wimpy with spice, LOL!
- Paprika: I use smoked paprika.
- Chili Powder: There are a lot of chili powders and a lot of opinions about them! For this recipe, I use an all-purpose chili powder like McCormick.
- Coriander: This adds bold flavor of pepper, citrus, and pine.
- Cayenne Powder: Adds some heat with notes of sweet and subtle smokiness.
- Beer: I like to use an IPA in this chili.
- Diced Tomatoes: I like petite diced tomatoes.
- Beans: I like either kidney or pinto beans.
- Sugar: Brown sugar. Be sure to pack it when yo measure it to get the correct amount.
- Cocoa: Don’t worry, the chili won’t have a chocolate taste. The cocoa adds depth flavor and richness. It also balances the other spices.
- Hot Sauce: Use your favorite. We add a small amount. Feel free to add as much as your family likes.
- Water: Creates the base sauce of the chili.
- Salt + Pepper
Tips
- Toasting Spices: After sautéing the veggies, the recipe calls for toasting the spices. Toasting them really intensifies and deepens their flavor and makes a big difference in the flavor of the chili. You really need to watch the spices carefully though, stirring constantly, so they don’t burn.
- Simmer: Also, watch the chili as it simmers for the 2-hour cooking time. Again, this is an important step needed to deepen the flavors of the chili so, don’t skip it. If the chili is too thick, you can add chicken broth or water to thin.
- Make It Spicy: If you want a spicy chili, leave the seeds and ribs in the jalapeños. You can also add your favorite hot sauce.

Storing + Freezing + Make-Ahead
- How Long Can You Keep This In The Fridge? This chili recipe should stay fresh for up to 4 days when stored properly.
- Can You Freeze This? This chili freezes really well! I like to put it in gallon-sized freezer bags. This makes it super easy to make ahead and store as long as I don’t forget to label it!
- Make-Ahead Tips: Most of the ingredients are canned or jarred convenience foods except for the fresh onions, peppers, garlic, and of course, chicken. You can chop these ahead of time if that makes things easier, but they need to be cooked when the chicken is.
- Food Safety: If you’d like more info on food safety check out this link.
What To Serve With Chicken Chili
In our family, when we have chili, we always have cornbread! We like it with our Bisquick cornbread, jalapeño cornbread, or Southern cornbread. Something fresh and crispy also goes well with chili.
We like KFC coleslaw, strawberry salad, 1905 salad, marinated tomato salad, or my grandma’s cucumber tomato salad.

How To Make Chicken Chili
-
Cook the chicken.
-
Add the aromatics and spices.
-
Add the beer to the pot and stir, scraping up any brown bits, on the bottom of the pot. Add back the chicken and the tomatoes, both beans, brown sugar, cocoa, hot sauce, water, salt, and pepper; reduce heat to low and simmer, stirring occasionally for 2 hours.
-
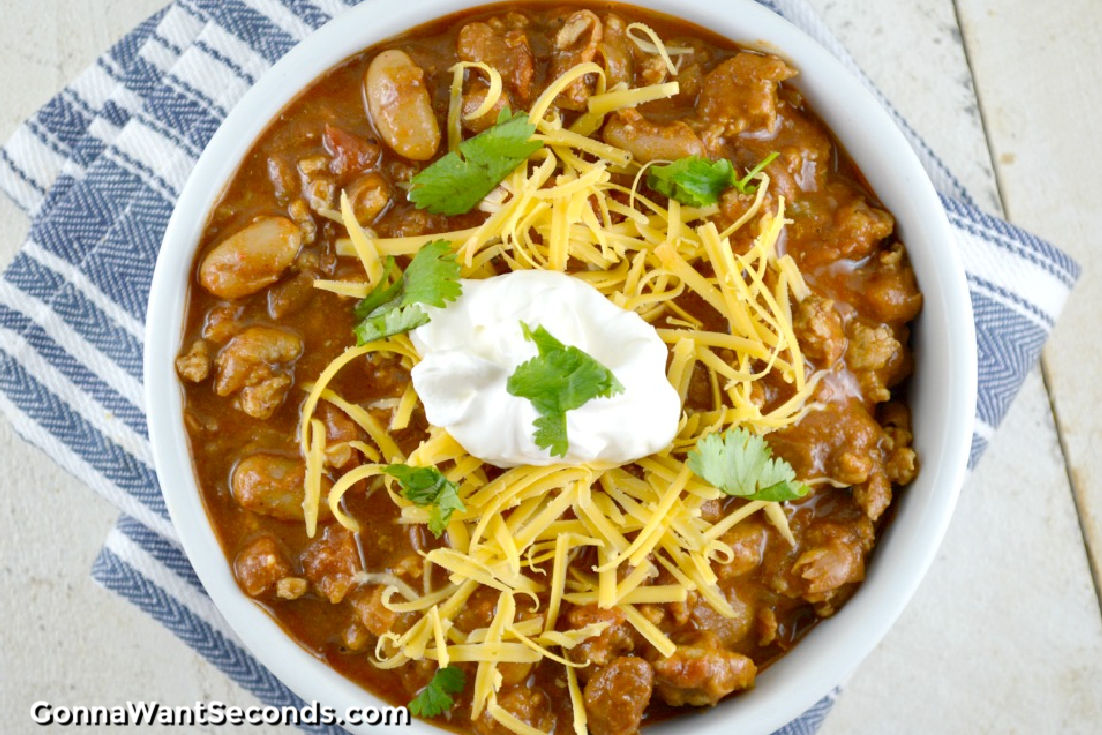
Adjust seasoning and serve with sour cream, cilantro, and or cheese.
***See the full instructions below.
Can I Cook This In A Crockpot?
Yes, you can! You’ll still follow the recipe as directed through most of step #3. At the point in the instructions where you’re told to simmer on the stovetop, you’ll pour everything from the Dutch oven, into the crockpot, cover, and cook on low for 6-8 hours or on high for 3-4 hours.
More Chili Recipes
- Mole Turkey Chili
- Boilermaker Chili
- Alton Brown Chili
- Pioneer Woman Chili
- Hot Dog Chili
- Taco Chili
- Steak Chili
Tried This Recipe?
Leave a review, I love hearing your feedback! ⭐⭐⭐⭐⭐

Chicken Chili
Ingredients
- 5 tablespoons olive oil divided
- 2 pounds ground chicken
- 2 cups onions diced
- 4 cloves garlic minced
- 2 jalapenos minced
- 1 tablespoon smoked paprika
- 2 tablespoons chili powder
- 2 tablespoons ground coriander
- 1 tablespoon ground cumin
- 1 teaspoon cayenne powder
- 1 (12-ounce) bottle IPA beer
- 1 (14.5-ounce) can petite diced tomatoes undrained
- 1 (15-ounce) can cannellini beans drained and rinsed
- 1 (15-ounce) can red kidney beans drained and rinsed
- 2 tablespoons brown sugar
- 2 teaspoons cocoa powder
- 1/4 teaspoon hot sauce
- 2 cups water
- 1 1/2 teaspoons salt or more to taste
- 1/2 teaspoon pepper or more to taste
- sour cream
- sharp cheddar cheese grated
- cilantro chopped
Instructions
- In a large Dutch oven add 3 tablespoons of the olive oil and heat over medium-high heat. Add the ground chicken (2 pounds) when oil is hot and cook, breaking the chicken into smaller pieces, and until there is no longer any pink; remove to a paper towel-lined plate and set aside.
- Drain all the fat from the Dutch oven and then add the remaining 2 tablespoons of olive oil and saute the onion (2 cups), garlic (4 cloves), and jalapenos (2) over medium heat until soft. Add the spices to the pot and continue to cook, stirring constantly, for about 1 1/2 minutes, making sure not to burn them.
- Add the beer (1 bottle) to the pot and stir, scraping up any brown bits, on the bottom of the pot. Add back the chicken and the tomatoes (1 can), both beans, brown sugar (2 tablespoons), cocoa (2 teaspoons), hot sauce (1/4 teaspoon), water (2 cups), salt (1 1/2 teaspoons), and pepper (1/2 teaspoon); reduce heat to low and simmer, stirring occasionally for 2 hours.
- Adjust seasoning and serve with sour cream, cilantro and or cheese.
Fans Also Made:


Notes
- Toasting Spices: After sautéing the veggies, the recipe calls for toasting the spices. Toasting them really intensifies and deepens their flavor and makes a big difference in the flavor of the chili. You really need to watch the spices carefully though, stirring constantly, so they don’t burn.
- Simmer: Also, watch the chili as it simmers for the 2-hour cooking time. Again, this is an important step needed to deepen the flavors of the chili so, don’t skip it. If the chili is too thick, you can add chicken broth or water to thin.
- Make It Spicy: If you want a spicy chili, leave the seeds and ribs in the jalapeños. You can also add your favorite hot sauce.
Nutrition
Source: Very Slightly Adapted The Chew Cookbook
Reader Interactions
Comments
Trackbacks
-
[…] via gonnawantseconds.com […]

Just made this but left out the peppers, and all of the hot stuff. My friend just can not handle the heat. But, wow – you were correct – you don’t miss the beef and with his gout – it’s perfect. Thanks for posting.
Kathi, I’m so happy you enjoyed this chili!!
For some reason the recipe isn’t showing…can you please share the recipe?!
Hi Karla. The recipe is back up 🙂
For some reason the recipe isn’t loading…would love to see the recipe for this! I’ve made it before and it’s delicious!
OMG This looks like heaven to me 🙂 I love the pictures they are so tempting and I really need to give this a try next weekend. My husband is going to love it 🙂 Thank you for the recipe!
I hope you and your hubby enjoy, Andrea! We LOVE it 😉
Hi! This looks so awesome. May we share your photo with credit on the UF Health Facebook page? Looking forward to hearing from you!
Hey Amanda,
Just sent you an email!
We were literally just talking about good chili and this one sounds so perfect!
We love this one! Hope you give it a try!