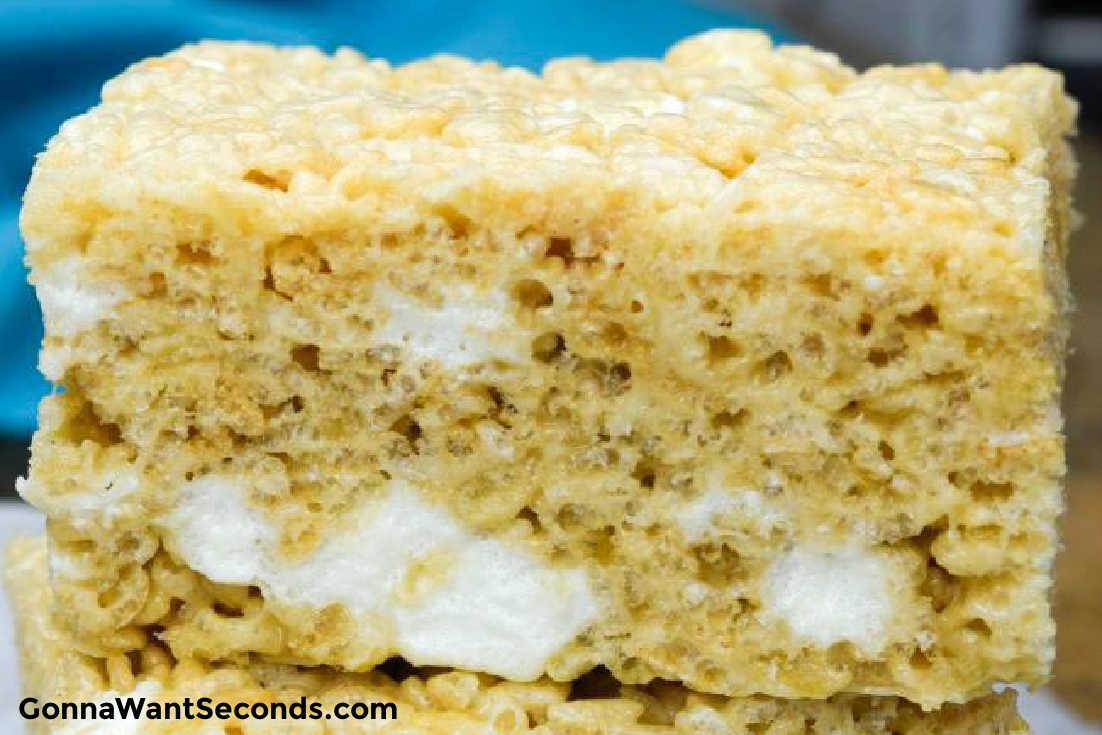
Our Rice Krispie treats are soft and chewy, with lots of sticky, gooey threads of marshmallows melting in your mouth. This recipe makes just a few modifications to the classic treat to create something extraordinary!
I suspect most of you remember pouring a bowl of cereal on some cartoon-laden Saturday morning and leaning quietly over the pool of milk to hear the iconic snap, crackle, and pop.
I also suspect many of you, like me, grew up making and devouring these treat and watching the little strings of sweet marshmallow stretch from your lips. Well, as an adult I wanted to recreate that experience and make it even more delicious! What I learned is it’s all about the ratios.
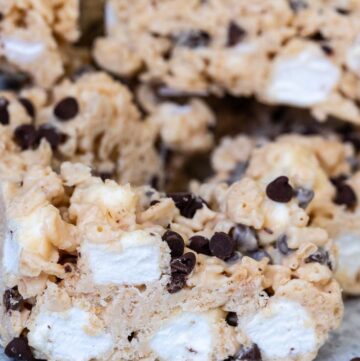
If you love to make no-bake treats as much as I do, I hope you’ll try my scotcharoos, fruity pebbles treats (super sweet treats), Frito bars, or my bite-sized peanut butter pretzel bites next!

Rice Krispie Treats Ingredients + Notes
There are actually only few ingredients. Our recipe uses the classic ingredients, rice Krispies, butter, marshmallows, and two ingredients that make my Rice Krispie treats recipe unique – vanilla and salt.
The BIG change in my recipe is the ratios I use and the flavor and texture of my bars are significantly different because of that! It makes a Rice Krispie treat that is totally in a league of its own in the deliciousness department.
- Marshmallows:
- Used Fresh Marshmallows: When you make these Rice Krispie Treats, don’t use an old bag you found in the back of the pantry you forgot about. Old marshmallows dry out and won’t produce the gooey texture you want in this recipe. Grab fresh marshmallows at the grocery store and save the others for hot cocoa.
- No Marshmallow Cream: I also don’t recommend making this with marshmallow cream or with fluff (cream and fluff are the same things), because they’ll impact the moisture content.
- The cream has almost identical ingredients to marshmallows, but it uses egg whites to stabilize the mixture rather than gelatin (which helps marshmallows hold their shape).
- This difference makes cream hold its naturally “fluffy” state which may not work well in my recipe but does make some pretty epic peanut butter cookie sandwiches.
- Salt? YES! Salt subtly enhances the flavor and sweetness of these bars, and vanilla really should be a required ingredient in every sweet treat! The result is marshmallow flavor on steroids.
- (Just be sure to use unsalted butter in this recipe to keep the treats from being overly salty – unsalted butter has a richer taste anyway.)
- Time saver: The butter and marshmallows can be melted in the microwave, but I generally prefer to make them on the stovetop because everything can be made in one pot. Who has a microwave-safe bowl large enough to melt the butter and marshmallows and then toss 12 cups of cereal in without ending up with a huge mess?
- I also find stovetop cooking lets me monitor the temperature more carefully. Scorched marshmallows = sadness.

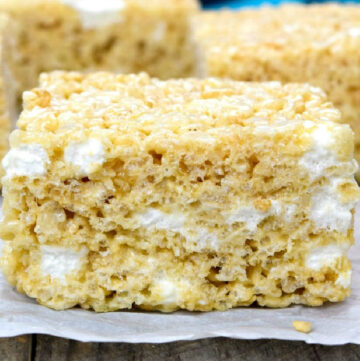
The Secret To Light And Fluffy Treats
Light touch: To create the requisite chewy gooey texture in these bars, whatever you do, do NOT press the mixture firmly into the pan.
That seems to be how everyone made these treats originally, but doing so makes them too hard, crushes the cereal pieces, and ruins the delicate, gorgeous, fluffy texture that takes these Rice Krispie Treats from ordinary to extraordinary!

How To Make Rice Krispie Treats

- Spray non-stick cooking spray to the aluminum foil lined on a pan.
- Melt the butter.
- Add the marshmallows.
- Stir constantly until the marshmallows are just melted.
- Remove from heat and stir vanilla and salt. Gently fold in cereal and coat evenly.
- Fold in the reserved 4 cups of marshmallows.
- Spoon the mixture into the prepared pan and gently press into an even layer.
- Let the mixture come to room temperature and set. Then cut and serve.
**See the full instructions below.
Storing Rice Krispies Treats
- How Do You Store Rice Krispie Treats: Practically speaking they’ll keep at room temperature for a couple of days, but at my house, they don’t stay around longer than a day.
-
- Store them in an airtight container. You can also add a sheet of wax paper between the layers to keep cut treats from sticking together.
- I suggest you try making these and see just how quickly they’ll disappear from YOUR kitchen!
- How Long Can You Keep This In The Fridge? These rice krispie treats can be stored in airtight containers at room temperature for up to two days. If you want to keep them longer, you can always pop them in the fridge or freeze them as outlined above!
- Can You Freeze This? Yes! Fruity pebble treats can be frozen. Be sure to always store your rice krispie treats in an airtight container — it’s important to prevent the cereal from going stale. Seal these treats in airtight containers and store them in your freezer for up to six weeks.
- Food Safety: If you’d like more info on food safety check out this link.
A Little History About The Ingredients
- The Cereal: Kellogg’s brand is probably the most well-known crisped rice cereal, and it was the home economics group at that company that first developed the treat recipe for a fundraiser.
- Any crisp rice cereal will work, just don’t confuse it with “puffed rice” that isn’t as crunchy and dry as you want for this recipe. (By the way, using rice cereal makes Rice Krispie Treats gluten-free, so it’s a treat that can satisfy even a gluten-sensitive sweet tooth!)
- All About Marshmallows: Ingredient number two is marshmallows, a 200+-year-old confection that gets its name from the “mallow” root that grows in salty “marshes.”
- Sap from the mallow root was first used in candies over 2,000 years ago by the ancient Egyptians and for medicinal purposes in other cultures.
- In the 1800s, thanks to the French, of course, the sap was whipped with egg whites to make unique, spongy candies. The sap was ultimately replaced with gelatin to support mass production of the squishy lumps of sugar we all know and love (and enjoy sandwiched between chocolate and graham crackers).
- The melted variety produces that characteristic sweet and slightly sticky, delicate webbing that holds the cereal together in these Rice Krispie Treats.
More No-Bake Treats To Crave
- Easy Microwave Fudge Recipe
- Reindeer Noses
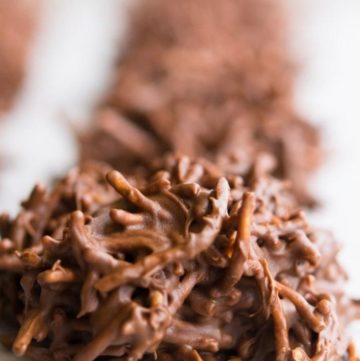
- Butterscotch Haystacks
- Pretzel Snowmen
- No Bake Peanut Butter Bars
Craving more delicious recipes?
I hope you’ll join our cooking family! Subscribe to Gonna Want Seconds and receive all our latest recipes delivered straight to your inbox! Absolutely free to you and we never share your email address.
Rice Krispie Treats
Ingredients
- 10 tablespoons butter
- 3 (10-ounce) bags mini marshmallow divided
- 12 cups Rice Krispies cereal
- 1 1/2 teaspoons vanilla extract
- 1/2 teaspoon salt
Instructions
- Line a 9 X 13-inch pan with aluminum foil, allowing 2-3 inches to extend over long sides. Spray generously with nonstick cooking spray.
- Measure out 4 cups of marshmallows and set aside and reserve.
- In a large saucepan, over low heat, melt butter (10 tablespoons). When the butter is melted add the marshmallows (excluding the 4 reserved cups) and continue to cook, stirring constantly, until the marshmallows are just melted. Remove from heat and stir in vanilla (1 1/2 teaspoons) and salt (1/2 teaspoon). Gently fold in cereal and coat evenly, then fold in the reserved 4 cups of marshmallows.
- Spoon the mixture into the prepared pan and gently press into an even layer. Let the mixture come to room temperature and set. Then cut and serve.
Fans Also Made:
Notes
- Light touch: To create the requisite chewy gooey texture in these bars, whatever you do, do NOT press the mixture firmly into the pan. That seems to be how everyone made these treats originally, but doing so makes them too hard, crushes the cereal pieces, and ruins the delicate, gorgeous, fluffy texture that takes these Rice Krispie Treats from ordinary to extraordinary!
