
This post may contain affiliate links. Please read our disclosure policy.
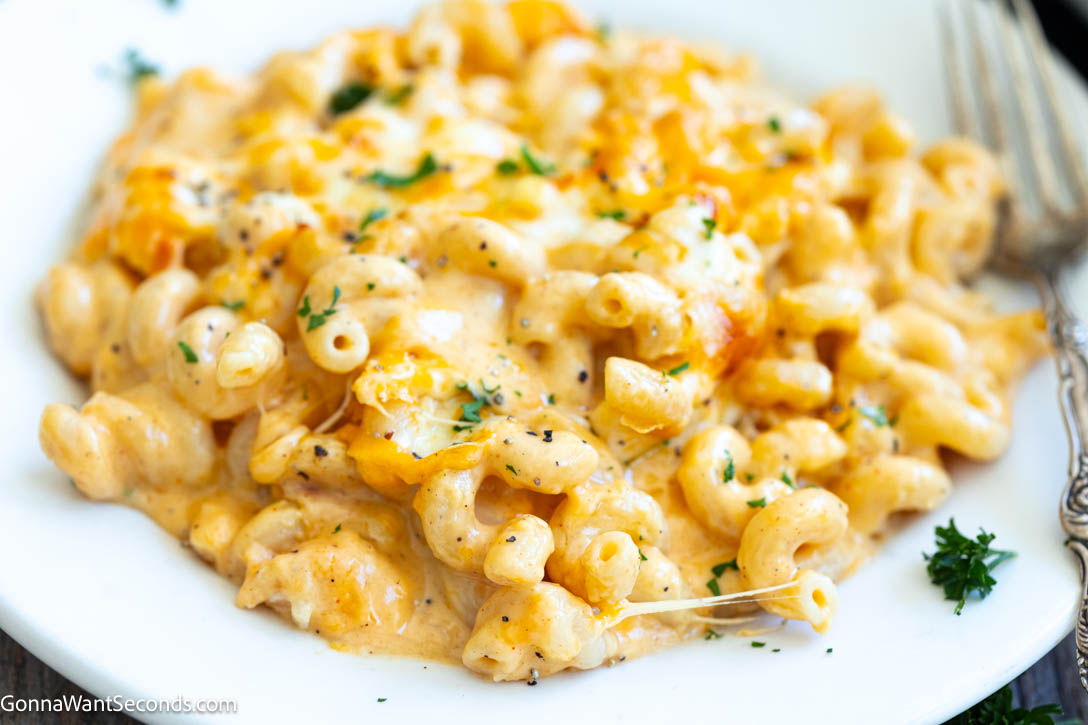
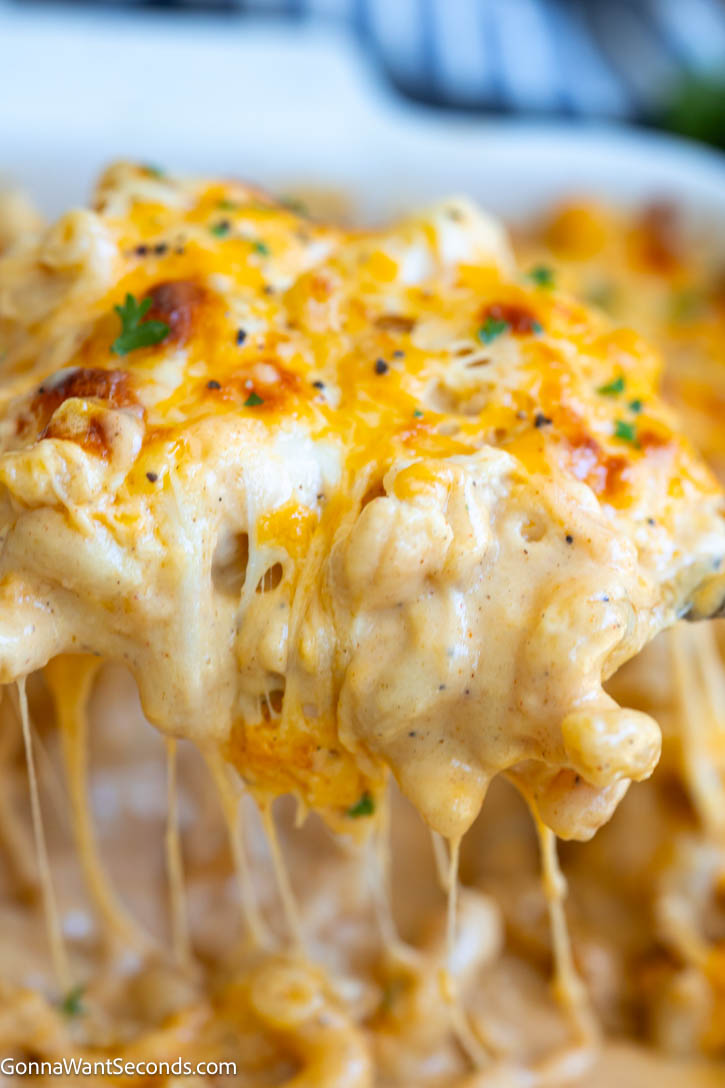
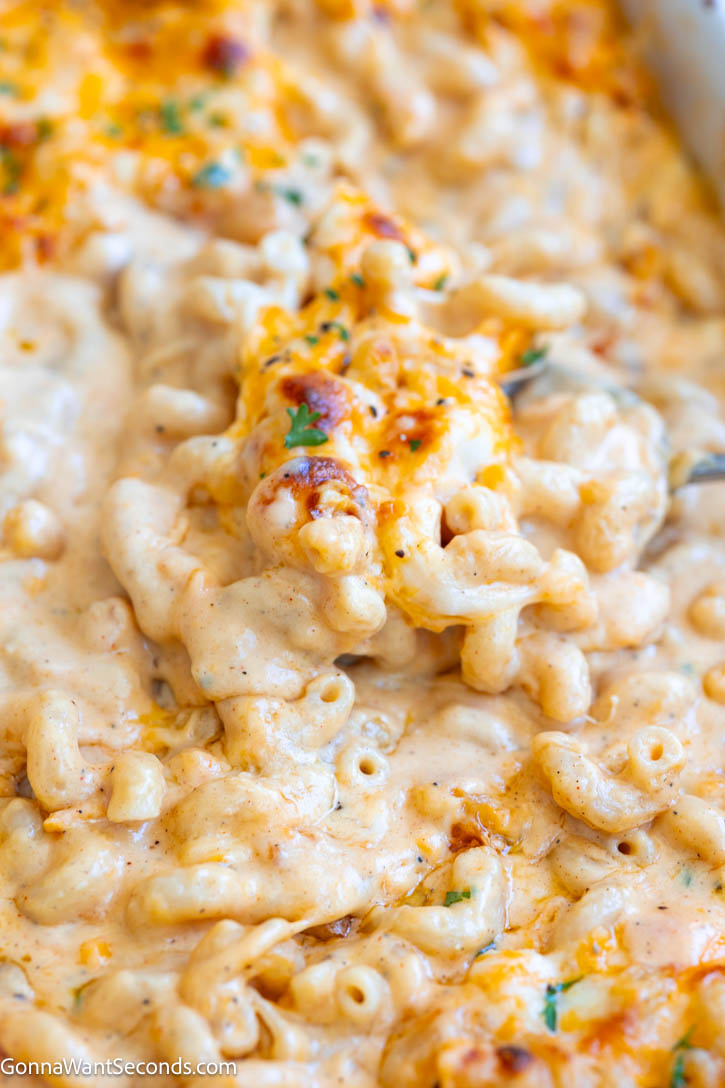
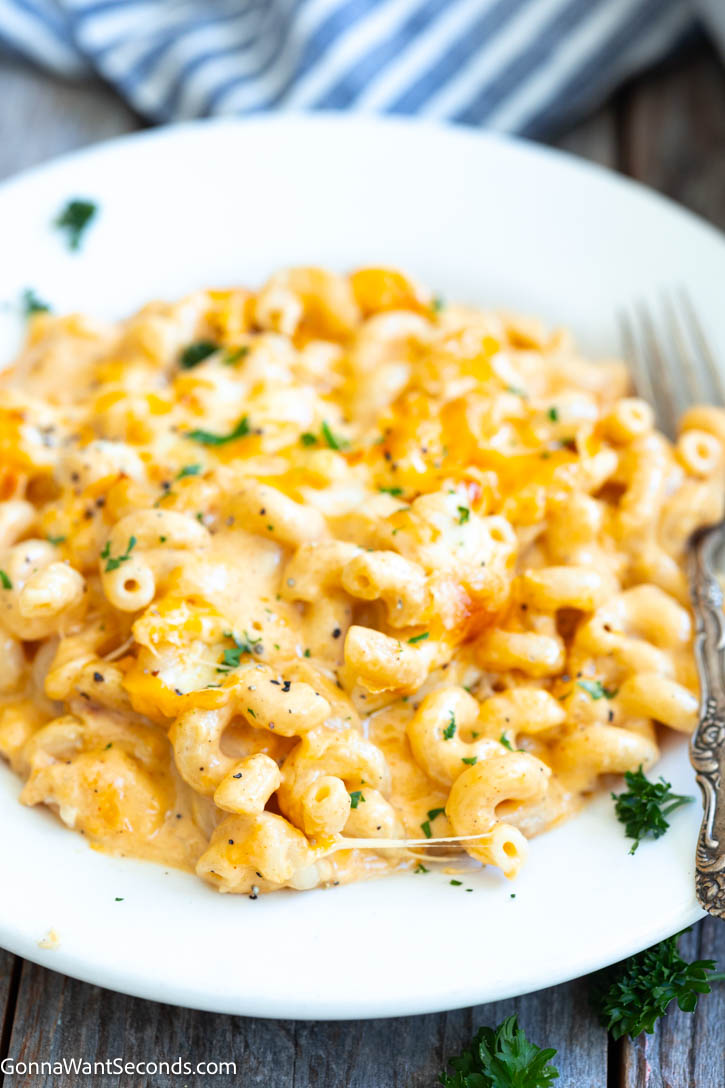
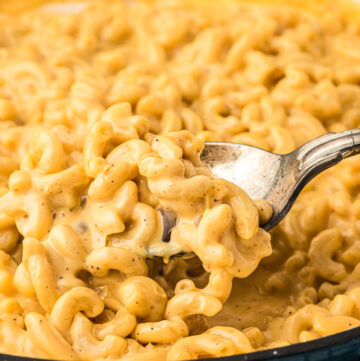
Tini’s Mac and Cheese is the viral recipe that took baked mac and cheese to a whole new level. Cavatappi pasta is coated in an incredibly rich, creamy sauce made with mozzarella, Colby Jack, and sharp cheddar, then layered with even more cheese and baked until hot, bubbly, and golden.
If you love ultra-cheesy comfort food, you’ll also want to try my Pioneer Woman Mac and Cheese, Chick-fil-A Mac and Cheese, and Paula Deen Mac and Cheese.
I tested Tini Younger’s famous mac and cheese, and yes—the hype is deserved! It’s outrageously cheesy, wonderfully creamy, and the cavatappi is perfect for catching all that luscious sauce. But with 2½ pounds of cheese, technique really matters. I’ll walk you through the little details that help keep the sauce smooth and creamy so all that glorious cheese ends up exactly where you want it.
✨ Before You Begin
✨ Shred the cheese yourself. This is not the recipe for bagged pre-shredded cheese. Anti-caking ingredients can prevent it from melting as smoothly, and with this much cheese, you want every advantage you can get.
✨ Prep everything before you start the sauce. Shred and combine the cheeses, measure the dairy, and have your seasonings ready. Once you begin the roux, the recipe moves quickly.
✨ Cook the pasta just to al dente. The cavatappi will continue cooking in the oven, so don’t cook it until completely soft.
✨ Add the dairy gradually. Whisk it into the roux slowly, allowing the sauce to thicken before moving on. Adding the dairy too quickly can make it harder to achieve that thick, creamy consistency.
✨ Keep the heat gentle when you add the cheese. Add the cheese a handful at a time, stirring well between additions. In my test, the cheese didn’t completely melt off the heat, so very low heat was necessary to finish the sauce. Keep stirring and never let the cheese sauce boil.
✨ Don’t skip the layers. Some of the cheese goes into the sauce and the rest is layered with the pasta. Those layers are what give Tini’s Mac and Cheese its ultra-cheesy middle and bubbly, golden top.
Ingredients + Key Notes
Cavatappi Pasta: The corkscrew shape is one of the signatures of Tini’s Mac and Cheese. All those curves and ridges grab onto the thick cheese sauce beautifully. Cook it only until al dente since it will continue cooking in the oven.
Mozzarella Cheese: Use whole-milk, low-moisture mozzarella and shred it yourself. It provides that fabulous gooey cheese pull without adding the excess moisture of fresh mozzarella.
Colby Jack Cheese: Adds creamy meltability and a mild, buttery flavor that balances the sharper cheddar. Buy it in a block and freshly shred it for the smoothest sauce.
Sharp Cheddar Cheese: This is where much of the bold cheese flavor comes from. Sharp cheddar keeps the finished dish from tasting one-dimensionally rich. Freshly grate this one, too.
Butter + Flour: These make the roux that thickens the cheese sauce. Let the flour cook briefly in the butter before adding the liquid so the finished sauce doesn’t have a raw flour taste.
Evaporated Milk: Adds concentrated dairy richness and helps create a luxuriously creamy sauce without introducing as much water as regular milk.
Heavy Cream: Makes this mac and cheese especially rich and silky. Add it gradually to the roux and whisk well so the sauce stays smooth.
Dijon Mustard: You won’t end up with mustard-flavored mac and cheese. Dijon adds a little tang and depth that cuts through all that rich dairy and helps bring out the cheese flavor.
Garlic Powder: Adds savory flavor throughout the sauce without pieces of fresh garlic competing with its smooth texture.
Smoked Paprika: Brings gentle smokiness and warmth that complements the cheeses. It also adds a little color to the sauce.
Salt + Black Pepper: Season carefully. With 2½ pounds of cheese in the recipe, there’s already plenty of saltiness coming from the cheese, so it’s much easier to add more at the end than correct an overly salty sauce.
🥣 How to Make Tini’s Mac and Cheese
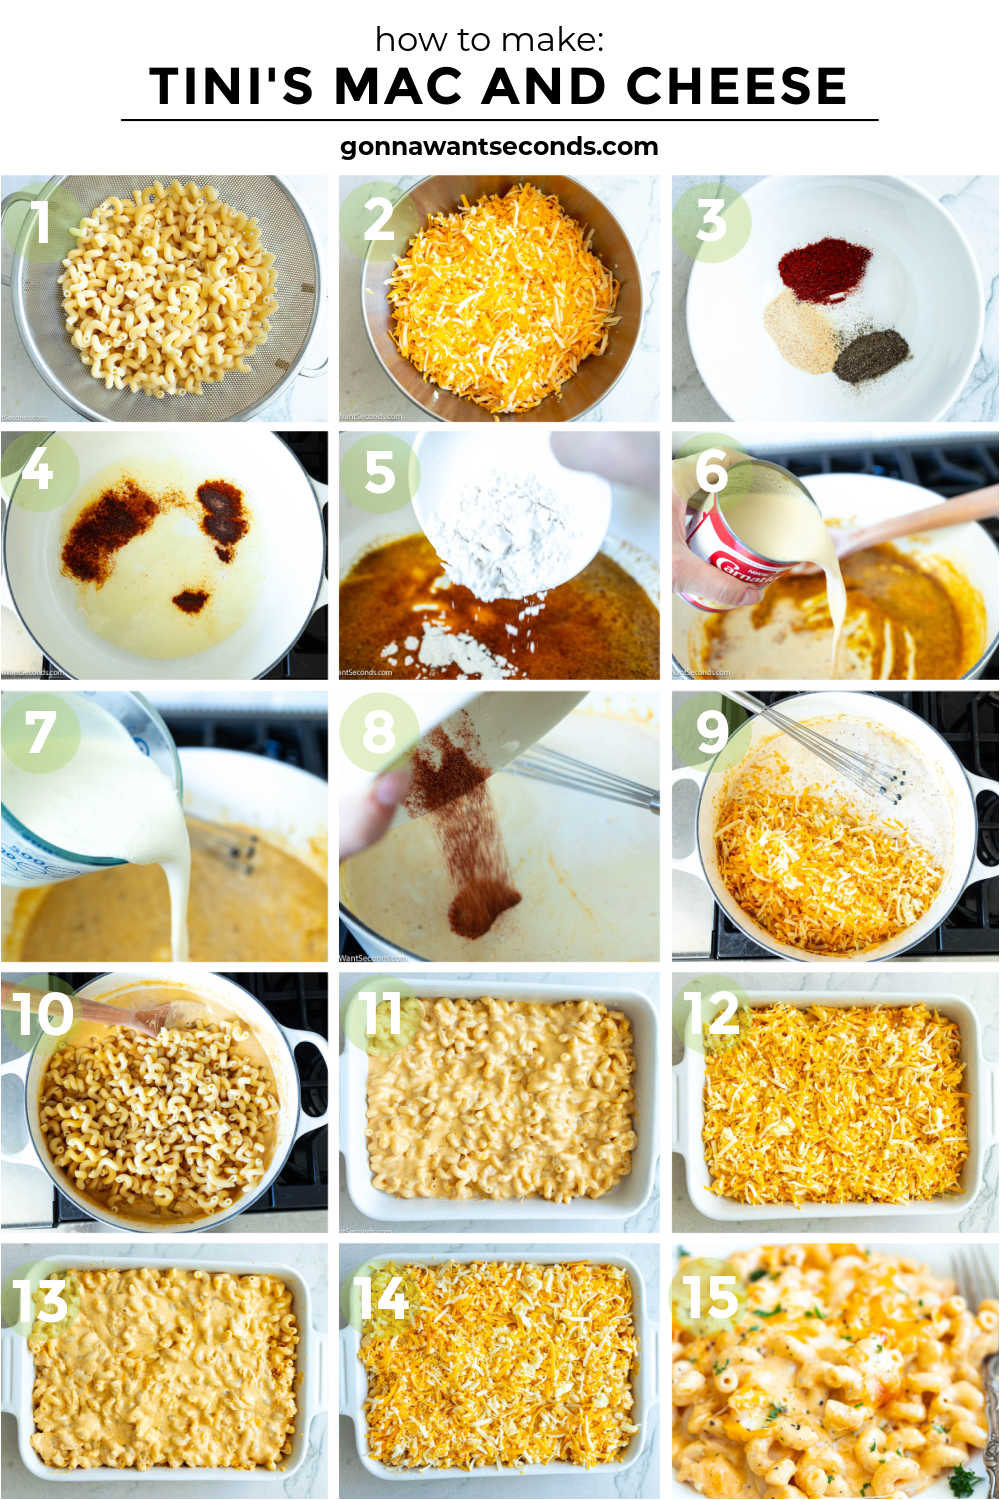
Cook the pasta. Cook the cavatappi just until al dente, then drain.
Make the sauce. Make a roux with the butter and flour, then gradually whisk in the evaporated milk and heavy cream. Add the Dijon and seasonings and cook until thickened.
Add the cheese. Over very low heat, add the cheese a handful at a time, stirring until smooth. Don’t let the sauce boil.
Combine. Stir the cavatappi into the cheese sauce until evenly coated.
Layer. Add half the mac and cheese to the baking dish, top with reserved cheese, then repeat.
Bake and broil. Bake until hot and bubbly, then broil briefly until the top is beautifully browned. Let rest for a few minutes before serving.
What to Serve With Tini’s Mac and Cheese
Tini’s Mac and Cheese is incredibly rich and cheesy, so I love serving it with something savory or fresh to balance it out. For a holiday meal, it’s perfect alongside Roast Turkey, Honey Baked Ham, or Prime Rib.
For an everyday comfort-food dinner, pair it with Baked Boneless Chicken Breast, Smothered Chicken, Traditional Meatloaf, or Crockpot Pulled Pork. Add Southern Green Beans, Brown Sugar Glazed Carrots, or KFC Coleslaw to round out the meal.
More Mac and Cheese Recipes
If you can’t get enough creamy, cheesy comfort food, here are a few more mac and cheese recipes to try:
- Cracker Barrel Mac and Cheese – Creamy, cheesy, and baked until bubbly, just like the restaurant favorite.
- Popeyes Mac and Cheese – A rich, creamy copycat with a golden baked cheese topping.
- Crock Pot Mac and Cheese – An easy slow-cooker version that’s creamy, comforting, and great for feeding a crowd.
- Smoked Gouda Mac and Cheese – Ultra-creamy mac and cheese with rich, smoky Gouda flavor.
- Stovetop Mac and Cheese – Creamy homemade mac and cheese made right on the stovetop for an easy weeknight side.
- Taco Mac and Cheese – A hearty mash-up of cheesy mac and bold taco flavors.
Tried This Recipe?
If you tried this Tini’s Mac and Cheese, I’d love to hear how it turned out! Please leave a star rating and comment below—your feedback helps other readers and helps me continue creating recipes you’ll love.
And if you share a photo, tag me on Instagram @gonna_want_seconds so I can see what you made!
Want more tried-and-true comfort food recipes? Subscribe to my free newsletter and I’ll send my newest recipes and reader favorites straight to your inbox.
Thanks for stopping by my kitchen today — happy cooking, friends! 💗 Kathleen
Tini's Mac and Cheese
Ingredients
Pasta
- 1 pound cavatappi pasta
Cheese
- 16 ounces low-moisture, whole milk mozzarella freshly grated
- 16 ounces Colby Jack, freshly grated
- 8 ounces sharp cheddar freshly grated
Seasoning
- 1 teaspoon garlic powder
- 1 teaspoon smoked paprika
- 1/2 teaspoon table salt
- 1/2 teaspoon black pepper
Cheese Sauce
- 3 tablespoons salted butter
- 3 tablespoons all-purpose flour
- 1 (12-ounce) can evaporated milk
- 2 cups heavy cream
- 1 tablespoon Dijon mustard
Optional Finish
- chopped fresh chives, chopped parsley, black pepper
Instructions
- Prep the oven, pan, cheese, and seasonings. Preheat the oven to 350°F (177ºC). Butter a 9x13-inch baking dish. Combine the mozzarella (16 ounces), Colby Jack (16 ounces), and sharp cheddar (8 ounces) in a large bowl, then divide the mixture evenly in half. In a small bowl, combine the garlic powder (1 teaspoon), smoked paprika (1 teaspoon), salt (1/2 teaspoon), and black pepper (1/2 teaspoon).
- Cook the pasta. Bring a large pot of lightly salted water to a boil. Cook the cavatappi (1 pound) according to the package directions until al dente. Drain well; do not rinse.
- Make the roux. Meanwhile, melt the butter (3 tablespoons) in a large, deep skillet or Dutch oven over medium heat. Add half of the seasoning mixture and cook, stirring, for 20–30 seconds. Whisk in the flour (3 tablespoons) and cook for 1–2 minutes, whisking constantly, until smooth and bubbling but not browned.
- Build the cream sauce. Slowly whisk in the evaporated milk (1 can). Cook, whisking frequently, until the mixture begins to thicken. Gradually whisk in the heavy cream (2 cups), remaining seasoning mixture, and Dijon mustard (1 tablespoon). Continue cooking just until smooth and slightly thickened.
- Melt in the cheese. Remove the pan from the heat and add the cheese a handful at a time, stirring until each addition is mostly melted before adding the next. As the sauce cools and the cheese becomes slower to melt, return the pan to very low heat, stirring constantly, just until the remaining cheese melts and the sauce is smooth. Do not let the sauce simmer or boil once the cheese has been added.
- Add the pasta. Fold the drained cavatappi into the cheese sauce until the pasta is thoroughly and evenly coated.
- Layer the mac and cheese. Spread half of the sauced pasta in the prepared baking dish and sprinkle with half of the remaining shredded cheese. Add the remaining pasta and top evenly with the remaining cheese.
- Bake until hot and bubbly. Bake, uncovered, for 20 minutes. Check the center; if needed, continue baking for up to 5 minutes more, just until the cheese is completely melted and the edges are bubbling.
- Broil and serve. Broil on high for 1–2 minutes, watching closely, until the top develops golden-brown spots. Remove from the oven and let stand for about 5 minutes before serving. Sprinkle with chopped chives, if desired.
Fans Also Made:

Notes
- Grate your own cheese. Freshly shredded cheese melts much more smoothly than pre-shredded cheese and is especially important when you’re working with this much cheese.
- Don’t overcook the pasta. Keep the cavatappi al dente so it doesn’t become too soft as the mac and cheese bakes.
- Take your time with the dairy. Gradually whisk the evaporated milk and cream into the roux so the sauce stays smooth and thickens evenly.
- Keep the heat low once the cheese goes in. Add it a handful at a time and stir constantly. Use only enough heat to melt the cheese, and never allow the sauce to boil.
- Don’t overbake it. You’re really just heating everything through and melting those cheesy layers. Overbaking can turn that wonderfully creamy sauce dry or oily.
- Broil with your eyes on it. The final broil creates that gorgeous bubbly, browned top, but it can go from golden to burned very quickly.



Leave a Reply