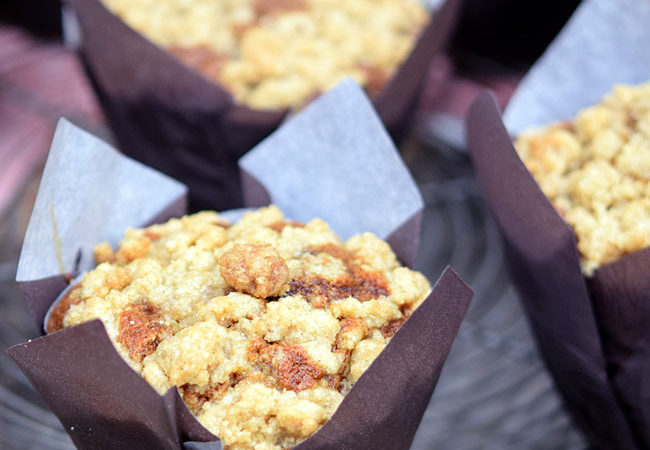
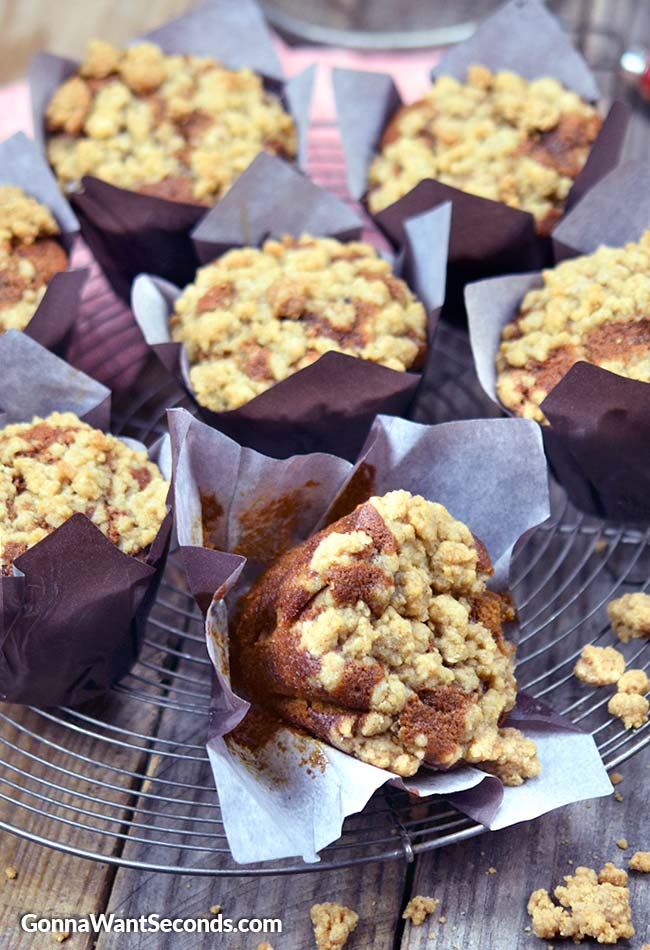
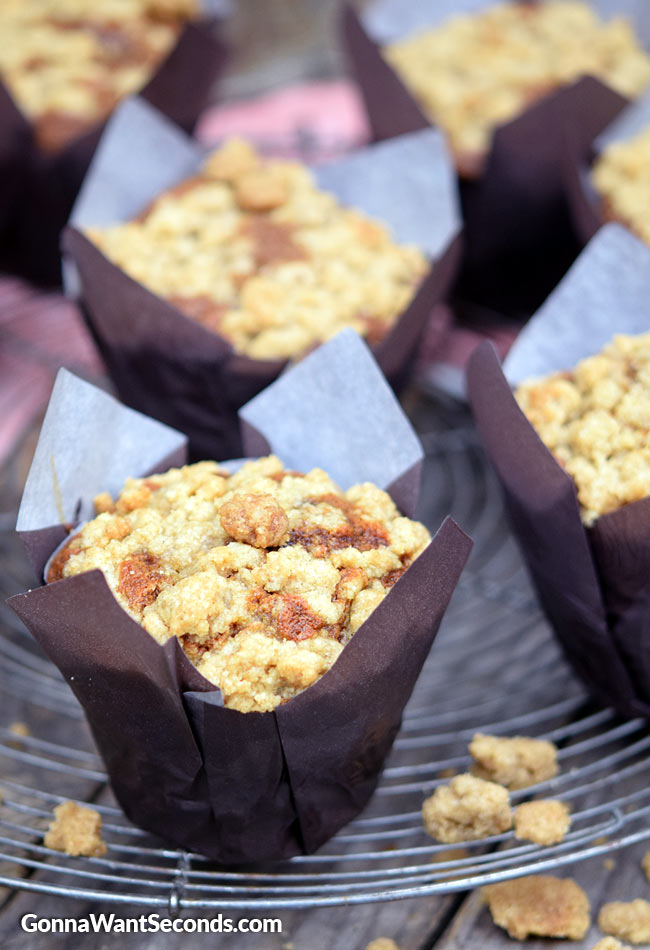
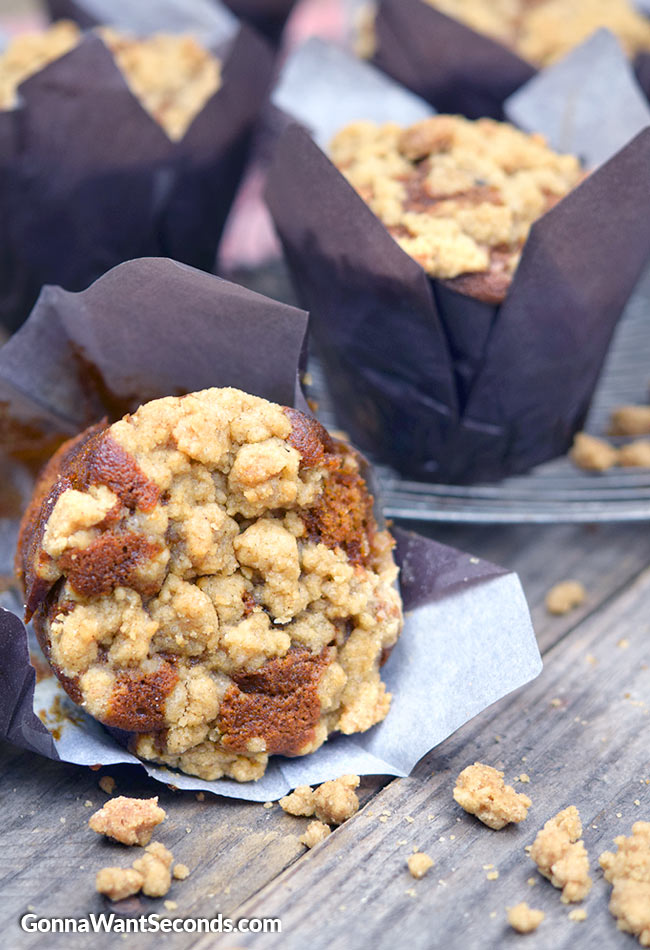
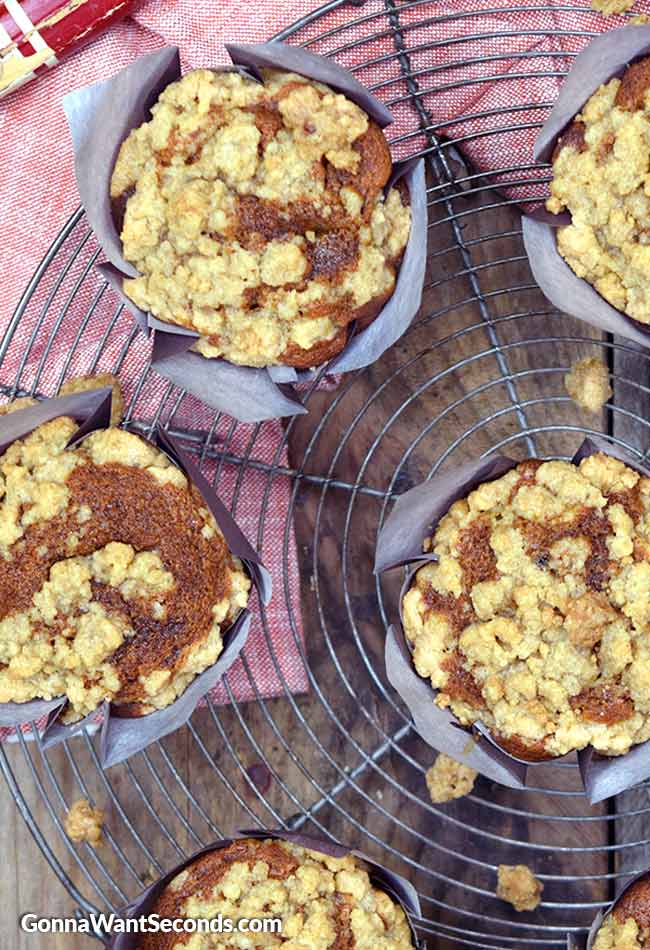
Tender, moist, fluffy Gingerbread Muffins with a generous spiced Crumb Topping!
The season of gingerbread is fast approaching. You’ve potentially experimented with gingerbread cookies, bars—maybe even a good old-fashioned gingerbread house. But this winter, give gingerbread muffins a try. This is an awesome recipe for gingerbread muffins with crumb topping and has long been one of my favorite muffins recipes overall. It doesn’t just come out of my recipe box during the holiday season. That simply wouldn’t be enough time to enjoy these moist, crumbly muffins. I make them in the fall, the spring—even the heat of the summer.
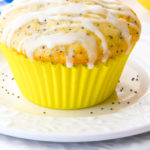
Gingerbread muffins are a crowd favorite no matter the season.
And what makes this recipe way better than your standard gingerbread muffin recipe is, of course, the crumble. Take cinnamon, sugar, butter, and a few other ingredients, combine them into large crumbs and sprinkle them over a sweet, moist muffin batter.

It even sounds delicious.
This crumble recipe is easier and more flavorful than many crumble recipes you may try. By using melted butter instead of cold, hard butter, you eliminate the need for a pastry blender and ensure that the crumble mixture mixes together with relative ease.
Give this yummy muffin recipe a try. Let me know what you think in the comments.
Recipe Notes:
Over Blending: Perhaps more than with any other pastry, over blending, is a serious concern with muffins. When you’re stirring in the dry ingredients, remember that the batter must remain lumpy. If you mix all the lumps out and create a batter that is absolutely smooth, you risk muffins that have a tough, hockey-puck-like texture. They won’t be tender or crumbly. Let the dry ingredients moisten as you stir, and use your common sense. Create batter, just don’t stir out the lumps.
Baking: Don’t let your batter sit out—bake it right away. Any recipe that uses baking soda or baking powder must be put in the oven as soon as it’s ready, that way your baking soda won’t lose leavening power.
With this recipe, greasing the cups or using a paper liner will work. However, I strongly prefer greasing the cups. Using paper liners has a couple of disadvantages:
- It’s more work. Individually placing each paper liner in each cup is simply more work than spraying the whole thing with cooking spray. Plus, you must peel each muffin out of the paper.
- More often than not, the muffin bottoms stick to the paper. We all know it’s true.
- Using paper liners can sometimes make the muffins soggy, as they hold in heat and steam.
A good nonstick cooking spray is my preference.
The question of how full to fill your muffin tin cups is a point of much contention in my business. For this recipe, I recommend filling each cup about 2/3 full. This will yield muffins that have a significant, moist muffin top while not spilling over and becoming unwieldy.
If there isn’t enough batter to fill all of the cups in your muffin tin, fill the extra cups with water. This will help ensure that the oven doesn’t scorch your empty cups.
The muffins are done when a toothpick comes out clean or the tops appear golden brown. Let them cook too long, and your muffins will not only be burned but hard and crunchy rather than soft and moist.
This recipe recommends letting your muffins cool for 10 minutes in the tin. A crucial tip: don’t let them cool longer than that 10 minutes. When you get towards 12 or 15 minutes of cooling, you risk your muffins becoming soggy and gross. A crisp-on-the-outside, tender-on-the-inside muffins requires some cooling time, but not too much!
Storing: Let the muffins cool completely before storing them. Just as with any bread-based recipes, if you put them in an air-tight container while still warm, the steam will moisten up the muffins all the way to sogginess.
To freeze the muffins, wrap them in foil or use a freezer bag. Reheat them in the oven by wrapping them in tin foil and baking at 300 degrees for 15-30 minutes.
MORE BREAKFAST RECIPES
TRIED THIS RECIPE?
Leave a review, I love hearing your feedback! ⭐⭐⭐⭐⭐

Gingerbread Muffins with Spiced Crumb Topping
Ingredients
Muffins:
- 2 3/4 Cups All-Purpose Flour
- 2 1/2 Teaspoons Baking Soda
- 1 Tablespoon plus 1/2 Teaspoon Ground Ginger
- 1 Teaspoon Ground Cinnamon
- 1/8 Teaspoon Ground Cloves
- 1/2 Teaspoon Salt
- 1/2 Cups 1 Stick Unsalted Butter, at Room Temperature
- 1/2 Cups plus 2 Tablespoons Sugar
- 2 Large Eggs
- 3/4 Cup Mild Flavored Light Molasses
- 1 1/3 Cups Cold Water
Crumb Topping
- 1 Cup All-Purpose Flour
- 1/2 Cup Brown Sugar Firmly Packed
- 2 Tablespoons Sugar
- 1 Teaspoon Ground Ginger
- 1/2 Teaspoon Ground Cinnamon
- 1/8 Teaspoon Salt
- 1/2 Cups 1 Stick Unsalted Butter, Melted
Instructions
- Preheat oven to 350 degrees. Spray 16 muffin cups, in a standard size muffin tin, with nonstick cooking spray or line with paper liners.
- For The Muffins: In a medium bowl, whisk together flour, baking soda, ginger, cinnamon, cloves and salt until combined. Set aside.
- In a large mixing bowl, using an electric mixer, beat together butter and sugar until combined. Beat in eggs until combined. Beat in molasses until combined. Add half of the flour mixture and mix just until most of the flour disappears. Add the remaining flour and mix until most of the flour disappears (don't overmix). Gradually add the water and beat until blended. Scoop batter into prepared muffin pan.
- For the Crumb Topping: In a small mixing bowl, combine the flour, brown sugar, ginger, cinnamon and salt. Add the melted butter and mix with a fork until it clumps and large crumbs form.
- Sprinkle muffin tops evenly with crumb mixture, gently pressing it into the batter slightly. Bake in preheated oven until a toothpick inserted into the center of the muffins comes out clean, about 25 minutes. Lay a sheet of foil under the length of a wire rack. Place pans on the rack and cool 10 minutes. Remove muffins from pan and place on wire rack and cool completely.

I tried this recipe and they tasted great however the muffins spread and the crumb topping sunk into the muffins.
I’m wondering now if I should have made a high-altitude adjustment as I am in Southern Utah at 5600′ ASL or if I did something else wrong. Thoughts?
Thanks for your website…. I use it all the time!!!
Hi Jeffri. 5600′is considered pretty high altitude so yes, I would make adjustment to recipes. I believe thats what made the muffins turn out a little differently. Im so happy you’re using the recipes on the site! I hope you’re finding lots of new favorite recipes.
What kind is Mild Flavored Light Molasses? I have ‘pure fancy molassses’ from President Choice (the company). Do i need a another kind or this will do. Can you suggest anything please and thank you.
Hey Jojo! Molasses comes in different colors, consistency, flavors, and sugar content. The one suggested in the recipe is the lightest flavor. I would definitely try the molasses you have. It will likely have a stronger molasses flavor.