This post may contain affiliate links. Please read our disclosure policy.
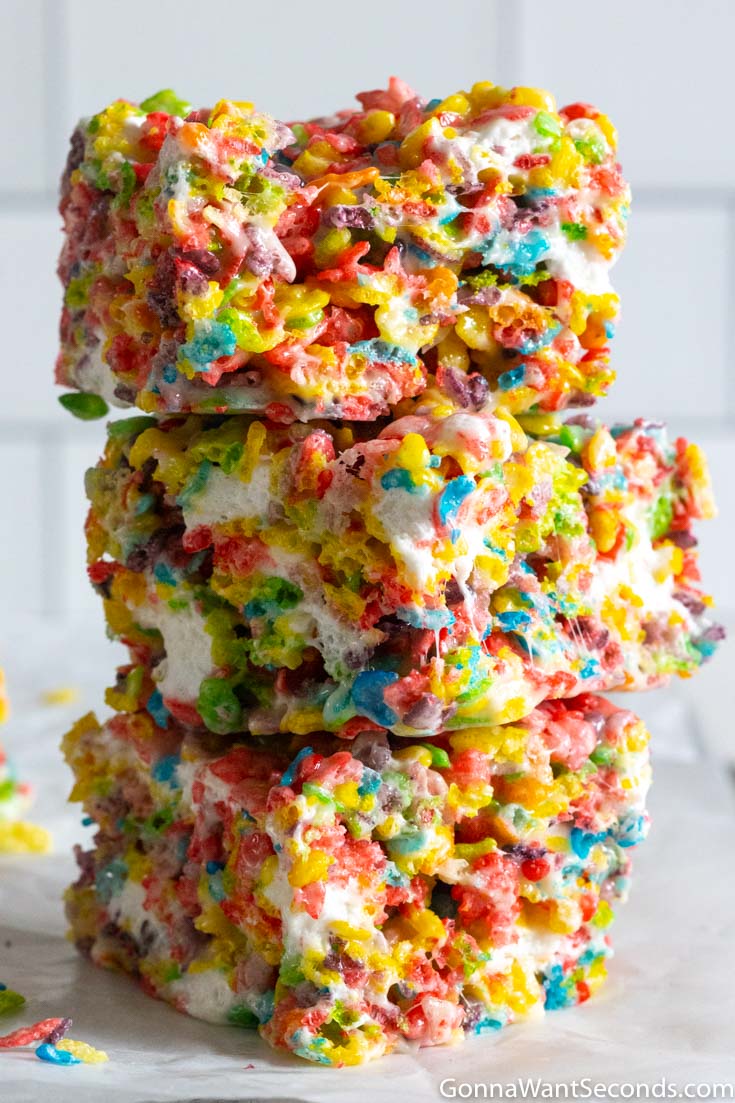
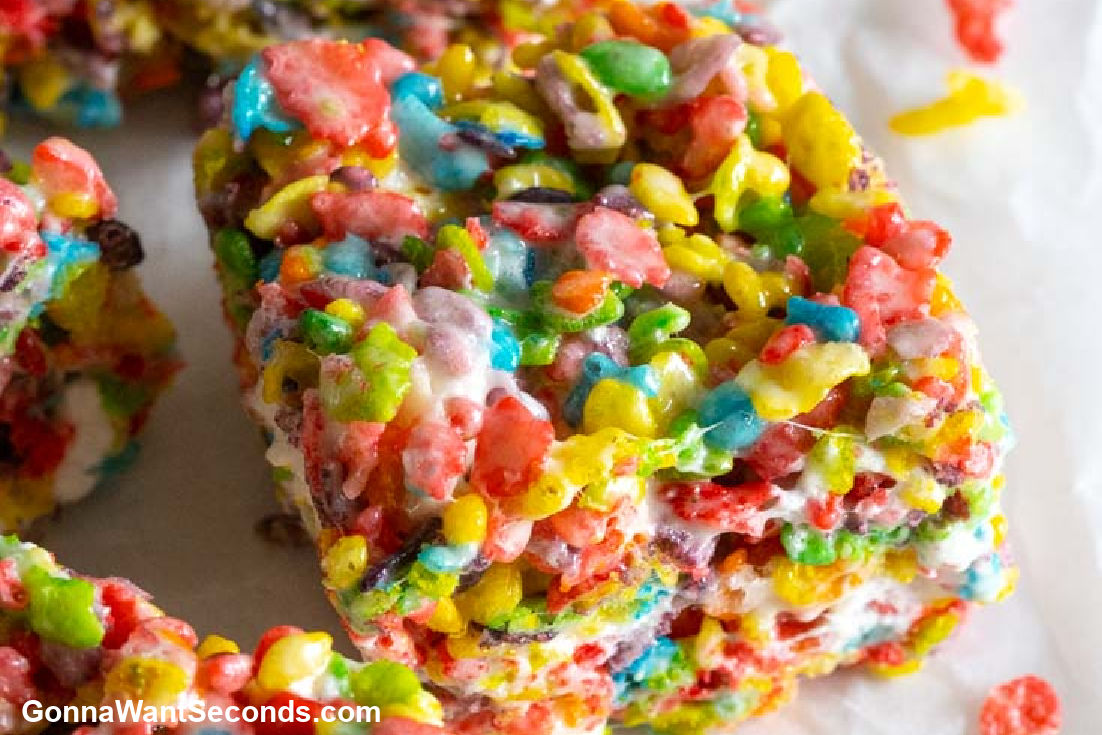
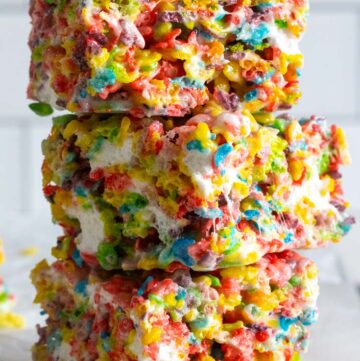
These Fruity Pebbles Treats are yummy, super ooey-gooey, marshmallowy, 5-ingredient cereal treats kids of all ages will love. Who doesn’t love no-bake dessert treats that take mere minutes to make and yield a generous 9 X 13-inch pan of deliciousness? Perfect on those dog days of summer when you don’t want to turn on the oven.
We all grew up eating the classic Rice Krispie treats and scotcheroos. I loved it when my mom and grandma made a batch of them. Fruity Pebbles is the next generation of cereal bars. They’re super colorful, super-duper sweet, extra marshmallowy, and of course, fruity!
For another no-bake treat, try my easy fudge recipe next, or my sister Christine’s famous fluffernutter Rice Krispies treats!
I hope you make these fruity pebble rice crispy treats soon! Let me know in the comments below if you do and how you like these super sweet treats, my friends! ♥
Fruity Pebbles Treats Ingredients
- Butter: Can I use salted butter for these treats? Yes! This is one of those rare times when I don’t use unsalted butter. The salted butter cuts through the sweetness of these bars and creates a better balance of flavor.
- More On Butter: I use butter instead of nonstick cooking spray to coat the dish because this recipe isn’t baked. I like the itty bit of butter flavor this adds rather than the nonstick stuff!
- Mini Marshmallow: When you make these treats, use fresh marshmallows! Don’t use a bag you found in the back of your pantry that you bought two years ago! Old marshmallows dry out and won’t produce the gooey texture you want in this recipe. Friends, just buy some fresh bags.
- Vanilla Extract: Always use the real stuff rather than imitation.
Expert Tips + Tricks
- Light touch: Have you ever had traditional Rice Krispies treats that are hard and solid like a rock? Well, there’s a super-easy trick to keep them delightfully chewy and gooey: very gently press the mixture into the prepared pan. If you must, you can very gently use a buttered spatula or buttered piece of wax paper to slightly even the top out. I skip that step and live with a perfectly imperfect form to keep them as gorgeous and delicate as possible. Never press the mixture firmly into the pan!
- Make a Sling: Use parchment paper or aluminum foil to make a sling for easy removal from the pan. This makes cutting them into bite size cookies.
- Time saver: If you’d rather, you can melt the butter and marshmallows in the microwave. You’ll have to experiment a bit with timing, as I prefer to make them on the stovetop because everything can be made in one pot, so I haven’t worked out exact microwave times!
- I mean, who has a microwave-safe bowl large enough to melt the butter and marshmallows and toss 12 cups of cereal in without making a huge mess? I also find stovetop cooking lets me monitor the temperature more carefully. Scorched marshmallows = extreme sadness!!
- Stir Well! After adding the cereal, be sure to fold and mix everything really well to coat. The mixture is very thick and will require gentle strength to achieve. If you don’t dig down to the bottom of the mixture, as the bars cool, there will be parts that don’t get covered with marshmallow coating.
Variations:
- Multi-Color Mini Marshmallows: Use the multi-color mini marshmallows to intensify the fruity flavor.
- Half Recipe: Cut this rice Krispy fruit pebble treats in half and switch out the 9X13 inch baking pan for a 9-inch pan. Remember these are really sweet so you’ll want to cut them into small pieces!
- White Chocolate: Before making these, you might be tempted to add white chocolate chips. I would caution against it. These treats are too sweet for the addition of white chocolate.
- Switch The Cereal: Try making this recipe with Cocoa Pebbles next time!
How To Store Leftovers
- How Long Can You Keep This In The Refrigerator? These fruity pebble bars can be stored in airtight containers at room temperature for up to two days. I don’t recommend using foil, as it’s very hard to make it airtight. If you want to keep them longer, you can always pop them in the fridge or freeze them as outlined above!
- Can You Freeze This? Yes! Fruity Pebbles Rice Krispies treats can be frozen. Be sure to always store your Fruity Pebbles Rice Krispies treats in an airtight container—it’s important to prevent the cereal from going stale. Seal these treats in airtight containers and store them in your freezer for up to six weeks.

Can These Be Made Ahead
Absolutely! These are the perfect make-ahead treat. Make the recipe and store it in an airtight container or tightly wrapped in plastic wrap.
What Are The Fruity Pebbles Flavors?
Fruity Pebbles has had many flavor changes over the years. Today, the primary flavors are imitation orange, lemon, and cherry.
Serving Recommendations
When I make these for the kids, I like to serve these with cold milk and or almond milk for the babies that are milk intolerant. For adults, I serve them with coffee or black tea.

How to Make Fruity Pebbles Treats Recipe
- In a large saucepan or large pot, over medium heat, melt butter.
- When the butter is melted, turn to low heat, add the marshmallows, and continue to cook, stirring constantly, until the marshmallows are just melted.
- Remove from heat and stir in vanilla and salt.
- Gently fold in Fruity Pebbles and coat evenly
- Fold in the reserved marshmallows.
- Spoon marshmallow mixture into the prepared baking dish and gently press into an even layer.
- Cut and serve.
***See Full Instructions Below
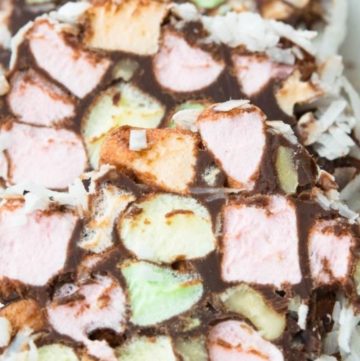
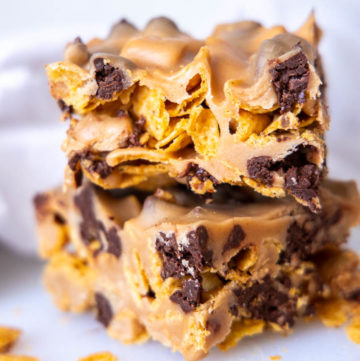
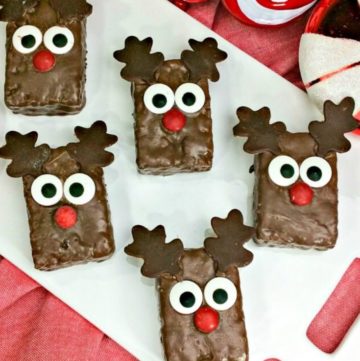
More No-Bake Treats You’re Sure To Love ♥
TRIED THIS RECIPE?
Remember, we have new recipes every week! Have you subscribed to our free, no-strings-attached email?
If you’ve tried this or any other recipe on my website, please leave a review. I love hearing your feedback! ⭐⭐⭐⭐⭐
Fruity Pebble Treats
Ingredients
- 10 tablespoons butter, regular-not unsalted, plus more for greasing pan
- 3 (10-ounce) Bags mini marshmallow divided
- 12 cups Fruity Pebble cereal
- 1 1/2 teaspoons vanilla extract
- 1/2 teaspoon salt
Instructions
- Spread a dollop of butter along the bottom and edges of a 9 X 13" pan.
- Measure out 4 cups of marshmallows and set aside and reserve.
- In a large saucepan, over low heat, melt butter (10 tablespoons). When the butter is melted add the marshmallows (excluding the 4 reserved cups) and continue to cook, stirring constantly, until marshmallows are just melted. Remove from heat and stir in vanilla (1 ½ teaspoons) and salt (½ teaspoon). Gently fold in fruity pebbles and coat evenly, then fold in the reserved 4 cups marshmallows.
- Spoon mixture into the prepared pan and gently press into an even layer. Let the mixture come to room temperature and set. Then cut and serve.
Fans Also Made:
Notes
- Butter: Because these are not baked, instead of using the nonstick cooking spray I use butter to coat the dish. I like the itty bit of butter flavor this adds rather than the nonstick stuff!
- Can I use salted butter for fruity pebble treats? Yes! In fact, this is one of those rare times where salted butter is my preference. The salted butter cuts through the sweetness of these bars and creates a better balance of flavor.
- Mini Marshmallow - When you make these treats, use fresh marshmallows! Don't use a bag you find in the back of your pantry that you bought 2 years ago!! Old marshmallows dry out and won’t produce the gooey texture you want in this recipe. Friends, just buy some fresh bags.
- Vanilla Extract: Always use the real stuff rather than imitation.
- Light touch: Have you ever had traditional rice Krispie treats that are hard and solid like a rock. Well, there's a super easy trick to keep them delightfully chewy and gooey, simple very gently press mixture into the prepared pan. If you must you can very gently use a buttered spatula to slightly even the top out. I skip that step and live with a perfectly imperfect form to keep them as gorgeous delicate texture. Never press the mixture firmly into the pan!
- Time saver: If you'd rather, you can melt the butter and marshmallows in the microwave. You'll have to experiment a bit with timing as I prefer to make them on the stovetop because everything can be made in one pot, so I haven't worked out exact microwave times!
- I mean, who has a microwave-safe bowl large enough to melt the butter and marshmallows then toss 12 cups of cereal in without ending up with a huge mess? I also find stovetop cooking lets me monitor the temperature more carefully. Scorched marshmallows = extreme sadness!!
- Stir Well! After adding the cereal, be sure to fold and mix everything really well to coat. The mixture is very thick and will require gentle strength to achieve. If you don’t dig down to the bottom of the mixture, as the bars cool, there will be parts that don’t get covered with marshmallow coating.
Nutrition
On your phone? Check the web story here.

I love Fruity Pebbles since I was a kid. Gotta try this!
That’s so perfect. Thank you, Joy!