

This post may contain affiliate links. Please read our disclosure policy.
Chocolate Pudding Pie is one of those desserts that looks like you spent all afternoon in the kitchen, but secretly comes together with just a handful of ingredients and a little chill time. The filling is silky, chocolatey, and cloud-light on top — and you can even make it no-bake when you use a store-bought crust. It’s the kind of easy pie that’s perfect for potlucks, holidays, or those nights when you just need a dependable, crowd-pleasing dessert without turning on the stove.
What makes this version work so well is the texture: instant pudding mixed with heavy cream creates a thick, mousse-like filling, and folding in whipped topping keeps it light while still holding clean, bakery-style slices once chilled. If you’re building a dessert table, it pairs beautifully with other easy favorites like Million Dollar Pie, Oreo Pie, and Lemon Icebox Cake — all simple, creamy, and always a hit.
Whether you’re making dessert for a party or just treating yourself to something chocolatey and cozy, this is the kind of pie that always disappears fast — so let’s get you baking (or not baking!) and into that first creamy slice.
Want the classic from-scratch version instead? Head over to my Chocolate Cream Pie from Scratch for that old-fashioned cooked filling — but if you want the easiest, no-fuss chocolate pie, keep reading because this pudding pie is practically foolproof. 💗

✨ Before You Begin
A few quick tips will make sure your pudding pie sets up beautifully and slices clean every time:
✨ Use heavy cream, not milk. Mixing instant pudding with heavy cream instead of milk creates a thicker, mousse-like filling that holds its shape and gives you those pretty, bakery-style slices.
✨ Let the crust cool completely before filling. If you add the pudding while the crust is still warm, the filling can soften and you’ll lose that crisp cookie crust.
✨ Chill for at least 2 hours — longer is even better. Two hours is the minimum for slicing, but an overnight chill gives you the firmest texture and the cleanest cuts.
✨ Want true no-bake? Use a store-bought crust. Skip the oven entirely by swapping in a chocolate or graham cracker crumb crust — perfect for hot days or when you need dessert fast.
✨ Freeze briefly for extra-clean slices. A quick 20–30 minutes in the freezer right before serving makes cutting super neat and keeps the filling from sticking to your knife.
Chocolate Pudding Pie Ingredients + Key Notes
This is just a quick glance at what you’ll need. For exact measurements and the full ingredient list, head down to the recipe card below.
Because this is a dessert recipe, here’s the “why” behind each ingredient so you get the best texture and flavor every time:
- Oreo cookies (with filling) – The cream centers act as part of the fat in the crust, helping it bind together without needing a lot of extra butter. You’ll want fine, sandy crumbs so the crust holds clean slices.
- Unsalted butter – Melted butter coats the cookie crumbs and firms up as it cools, giving the crust structure. Unsalted lets you control the flavor since Oreos already contain salt.
- Instant chocolate pudding mix – This is the shortcut hero. Instant pudding thickens without cooking and gives you consistent results every time, which is perfect for a foolproof pie.
- Heavy cream – Instead of milk, heavy cream creates a richer, thicker pudding that sets up more like a mousse. This is key for neat slices that don’t slump on the plate.
- Cool Whip (thawed) – Folding it in lightens the filling while keeping it stable for slicing and make-ahead storage.
Substitution note: 1 cup heavy whipping cream whipped with 2–3 tablespoons powdered sugar and 1 teaspoon vanilla can replace an 8-oz tub of Cool Whip. Whip to stiff peaks and fold in gently.
🥣 How to Make Chocolate Pudding Pie
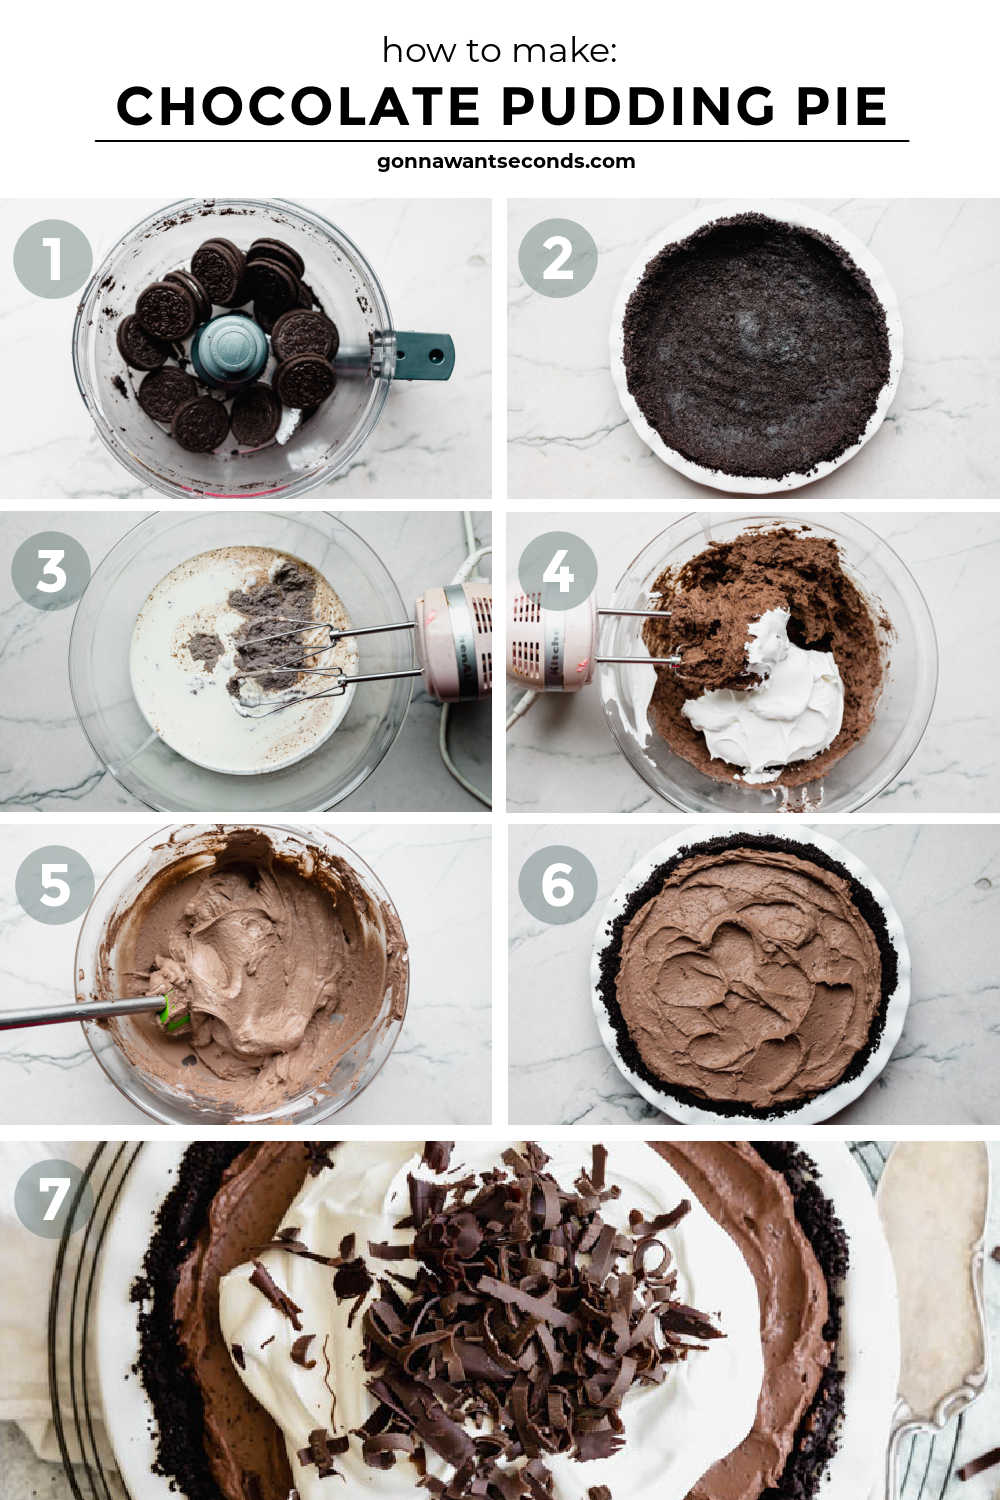
Make the crust.
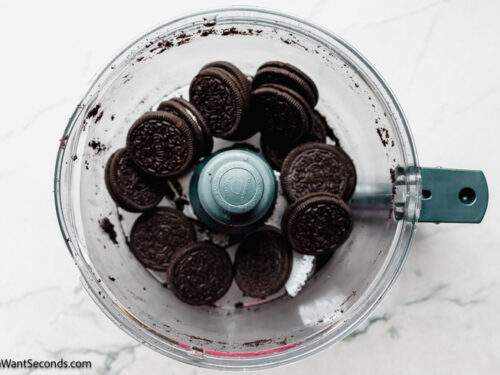
Start by pulsing the Oreos into fine crumbs, then mix with melted butter until evenly coated. Press the mixture firmly into the bottom and up the sides of your pie plate, using the bottom of a measuring cup or glass to pack it in. Bake briefly, then let the crust cool completely before filling.
Mix the filling.
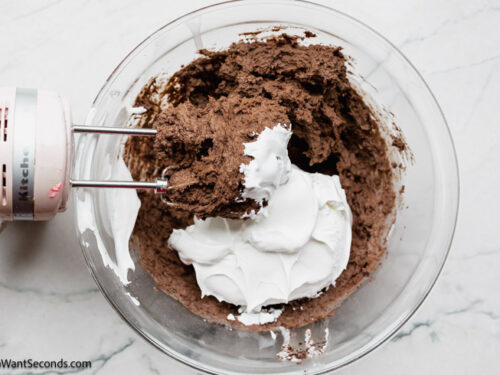
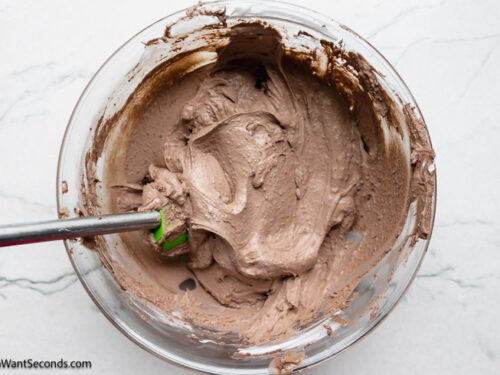
In a large bowl, beat the instant pudding mix with heavy cream until thick and smooth. You’ll see it start to set up pretty quickly. Gently fold in the thawed Cool Whip until the mixture is light, fluffy, and evenly combined.
Chill and serve.
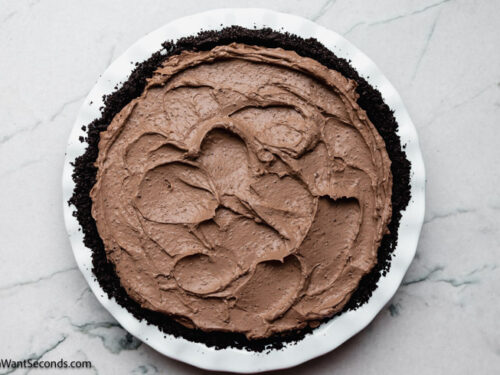
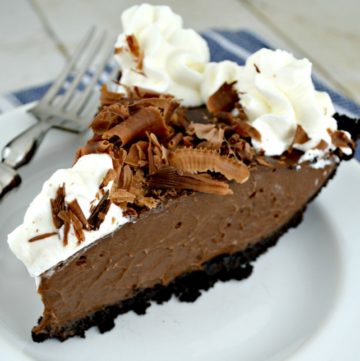
Spread the filling into the cooled crust, smoothing the top. Refrigerate for at least 2 hours, or longer if you want extra-clean slices. Garnish with whipped cream, chocolate shavings, or cookie crumbs just before serving.
***See the full instructions below.
⭐ Pro Tips
⭐ Use a whisper-thin crust press, not brute force.
Press the crumbs firmly, but don’t mash them into a solid brick. You want the crust compact enough to slice cleanly, but still tender when you bite into it.
⭐ Chill overnight for bakery-style slices.
Two hours works, but an overnight rest lets the pudding fully hydrate and firm up, which makes the texture extra creamy and the slices picture-perfect.
⭐ Wipe your knife between cuts.
A quick wipe with a warm, damp cloth between slices keeps the filling from dragging and gives you those pretty, clean edges on every piece.
⭐ Make it totally no-bake when needed.
Swap in a store-bought chocolate or graham cracker crust and skip the oven altogether — same great filling, zero baking required.
🔬 The Science Behind Why This Pie Sets So Well
Instant pudding thickens through starch gelatinization — the starches in the mix absorb liquid and swell, creating structure without heat. When you use heavy cream instead of milk, the higher fat content slows the movement of liquid and helps create a thicker, more stable network.
Folding in whipped topping introduces tiny air pockets that lighten the texture, but the stabilizers in Cool Whip (or stiff-whipped cream) keep the filling from collapsing as it chills. The result is a filling that’s creamy and soft, but still firm enough to slice cleanly — exactly what you want in a pudding-style pie.
Storing + Freezing + Make-Ahead Tips
Storing
- Cover the pie tightly and refrigerate for up to 4 days. The crust will stay crisp for the first couple of days, then soften slightly over time.
Freezing
- You can freeze the pie for up to 1 month. Wrap tightly in plastic wrap and then foil. Thaw overnight in the refrigerator before serving.
Make-Ahead
- This is a perfect make-ahead dessert. You can prepare the entire pie up to 24 hours in advance and keep it refrigerated until ready to garnish and serve.
🥧 What to Serve With Chocolate Pudding Pie
If you’re putting together a dessert spread for a holiday, potluck, or family gathering, these GWS favorites pair beautifully with this creamy chocolate pie — and give you a little variety for different tastes.
Sweet Finishes
-
Brown Butter Brownies – Rich and fudgy, they’re perfect if you want something warm alongside a chilled, creamy pie.
-
Cherry Pineapple Dump Cake – Bright, fruity, and super easy, which balances the deep chocolate flavor beautifully.
-
Bisquick Peach Cobbler – Cozy and comforting, especially great if you’re serving this pie after a big family dinner.
-
Possum Pie – A layered Southern classic that pudding-pie lovers almost always adore.
✦ Frequently Asked Questions
✦ Can I use milk instead of heavy cream?
You can, but the filling will be much softer and more like traditional pudding. If you want clean slices that hold their shape, heavy cream really does make a big difference in how firmly the pie sets.
✦ Can I make this pie the day before?
Yes, and it’s actually ideal that way. An overnight chill gives the pudding time to fully set and makes slicing much easier the next day.
✦ Can I use homemade whipped cream instead of Cool Whip?
Absolutely. Whip heavy cream with powdered sugar and vanilla to stiff peaks, then fold it in gently so you don’t knock out the air that keeps the filling light.
✦ Why is my filling too soft?
This usually happens if milk was used instead of heavy cream, the pudding wasn’t beaten long enough to fully thicken, or the pie didn’t chill long enough. A little extra fridge time often fixes it.
✦ Can I freeze chocolate pudding pie?
Yes. Freeze the fully set pie, wrapped tightly, for up to one month. Thaw overnight in the refrigerator before serving for the best texture.
✦ Can I use a different crust?
Definitely. Graham cracker, chocolate graham, or even a brownie-style crust all work well with this creamy filling — just make sure baked crusts are fully cooled before adding the filling.
Still have questions? Drop them in the comments — I love helping you bake + cook with confidence! 💗
More Easy Make-Ahead Desserts to Try
- Hershey Pie – Another ultra-creamy, chocolate-forward dessert that’s perfect when you want a “people go crazy for this” easy pie.
- Heaven on Earth Cake – A chilled, layered dessert that’s potluck-friendly, make-ahead, and always a crowd favorite.
- Cherry Fluff – Light, creamy, and nostalgic — a great “easy dessert table” option when you want something not-so-chocolate.
- Creamy Fruit Salad – A fresh, creamy side-dessert that balances rich chocolate beautifully (especially for spring/summer gatherings).
- Rice Krispie Treats – Classic, no-bake, kid-friendly, and great when you need something quick alongside a pie for parties.
- 7 Layer Bars – Sweet, gooey, and bake-and-slice — a perfect second dessert when you’re feeding a crowd.
- Cannoli Dip – A fun “dip dessert” that feels party-friendly and gives variety without stepping on the pie’s toes.
Tried This Recipe?
💌 And while you’re here, don’t miss the next cozy recipe — subscribe to my totally FREE newsletter so you’ll always have comfort food favorites at your fingertips. 💌
If you enjoyed this recipe, please take a moment to leave ⭐️⭐️⭐️⭐️⭐️ star rating and a quick comment — I love hearing from you and it helps our community of bakers and cooks!
📸 And if you Gram… don’t forget to share your photo on Instagram — tag me @gonnawantseconds so I can cheer you on and share your creations!
Thanks for stopping by my kitchen today — happy cooking, friends! 💗 Kathleen

Chocolate Pudding Pie
Ingredients
Crust:
- 24 regular Oreos
- 5 tablespoons unsalted butter
Pudding:
- 2 (3.9-ounce) boxes Jello instant chocolate pudding mix
- 2 3/4 cups heavy cream
- 1 (8-ounce) tub Cool Whip, thawed
Instructions
Prepare Pie Crust:
- Preheat the oven to 350ºF (177ºC).
- In a food processor, pulse the Oreos (24) (including cream filling) into a fine crumb.

- Add the melted butter (5 tablespoons) and pulse a few times to combine.
- Pour the crumb mixture into a 9-inch pie plate. Use the bottom of a drinking glass or a dry measuring cup to press the crumbs, using medium pressure, down into the bottom and up the sides of the pie plate.
- Bake in preheated oven for 10 minutes. Remove from oven and set on wire rack and cool completely.
Make Chocolate Pudding:
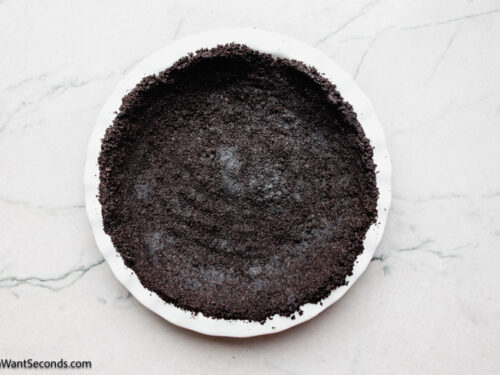
- Add both boxes of chocolate pudding and heavy cream (2 3/4 cups) to a large mixing bowl.
- Using a hand-held electric mixer, beat together on low for about 2 minutes, or until the mixture thickens.
- Fold thawed Cool Whip (1 tub) into the pudding mixture until it's evenly combined.
- Pour the pie mixture into completely cooled Oreo crust. Refrigerate for at least 2 hours before serving.
Notes
- Make It No-Bake! If you swap the homemade Oreo crust with a pre-made chocolate crumb crust, you've got a no-bake pie.
- Crust: Pulse the Oreo cookies in a food processor so that there are no large pieces. You can also put the cookies in a plastic storage bag and crush them with a rolling pin. The texture should be like sand. Make sure that the cookie mixture is firmly packed along the bottom and sides of the pie pan so the crust does not crumble when serving.
- Freeze To Firm: To get a really nice pie slice with clean edges, freeze the pie for 30 minutes before serving.
- Garnish: When ready to serve, top with whipped cream and chocolate shavings.
Nutrition
On your phone? Check the web story here.



The directions say to put into a preheated oven for 10 minutes..preheated to what temperature? My daughter in law has celiac disease so we have to use the gluten free oreos
Hi, Tammy. Preheat it to 350ºF. I haven’t tried this with gluten-free oreos <3
I made this just now, taste test a bit, it’ sooo good! oh gosh now I have to wait til it’s chill, I wanna eat 2 slices right now! Hehe.
Lol! Thanks so much, Laura! I hope you enjoyed 🙂