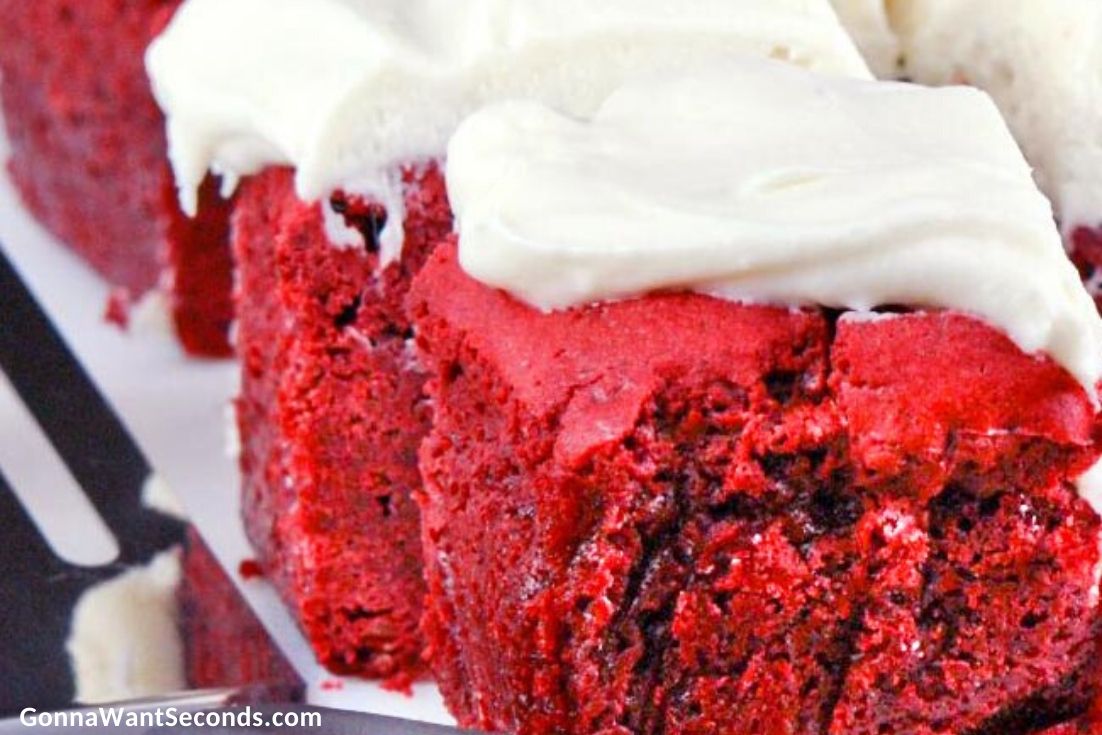
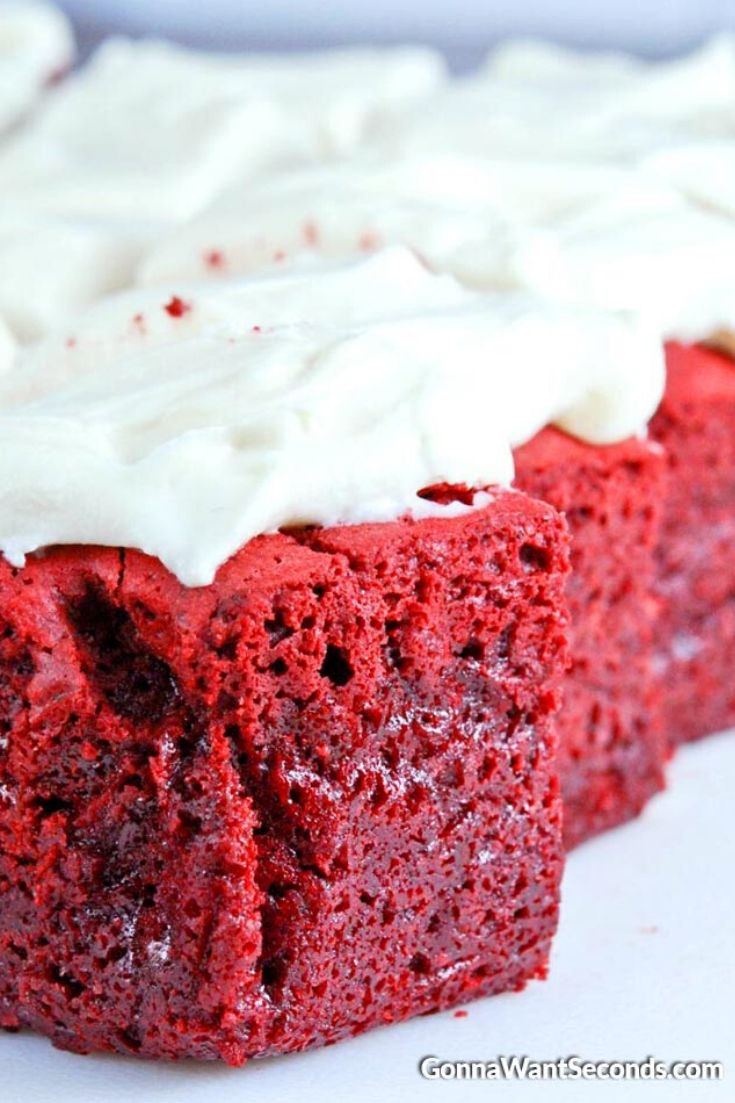
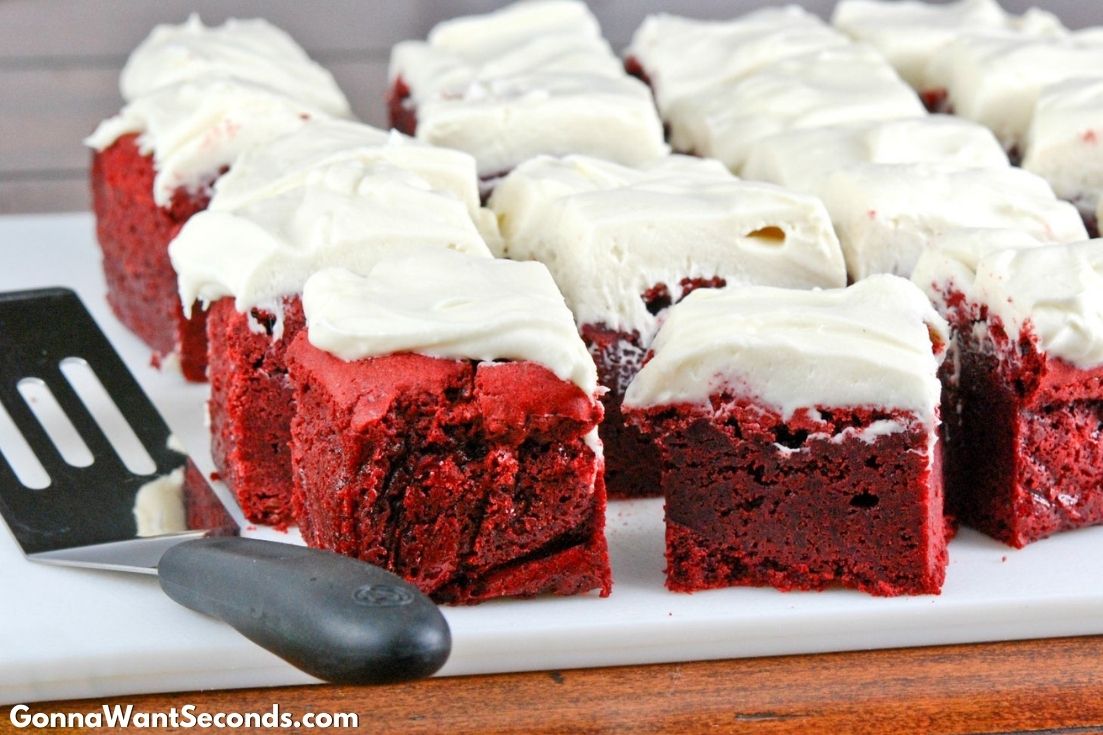
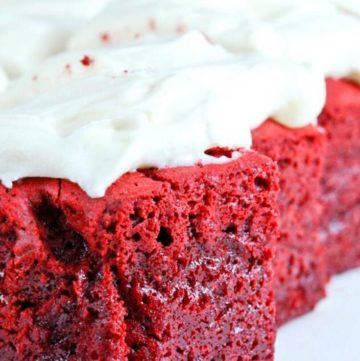
These red velvet brownies are thick, chewy, have the perfect red velvet flavor, and are topped with a decadent cream cheese frosting! I’m absolutely crazy for both red velvet and brownies so, in my book, this combination is beyond fabulous! They’re the type of chocolate brownies that you can serve on any occasion and they’re always the perfect choice.
These little gems are as dense and fudgy as my fudge brownie recipe and as unique as my German chocolate brownies. My brownie cookies are almost always a favorite but this red velvet brownies recipe is really something special.
Grab your aprons, my friends, and let’s bake some brownies!
What I Love About This Red Velvet Brownies Recipe
It’s red velvet brownies recipe!! I can’t find a single thing not to love. This brownie is so darn delicious it’s one of my absolute favorites (can you tell?). Plus, it’s really easy to throw together.
Here are some reasons for you to love it too.
- Quick 10-minute prep time
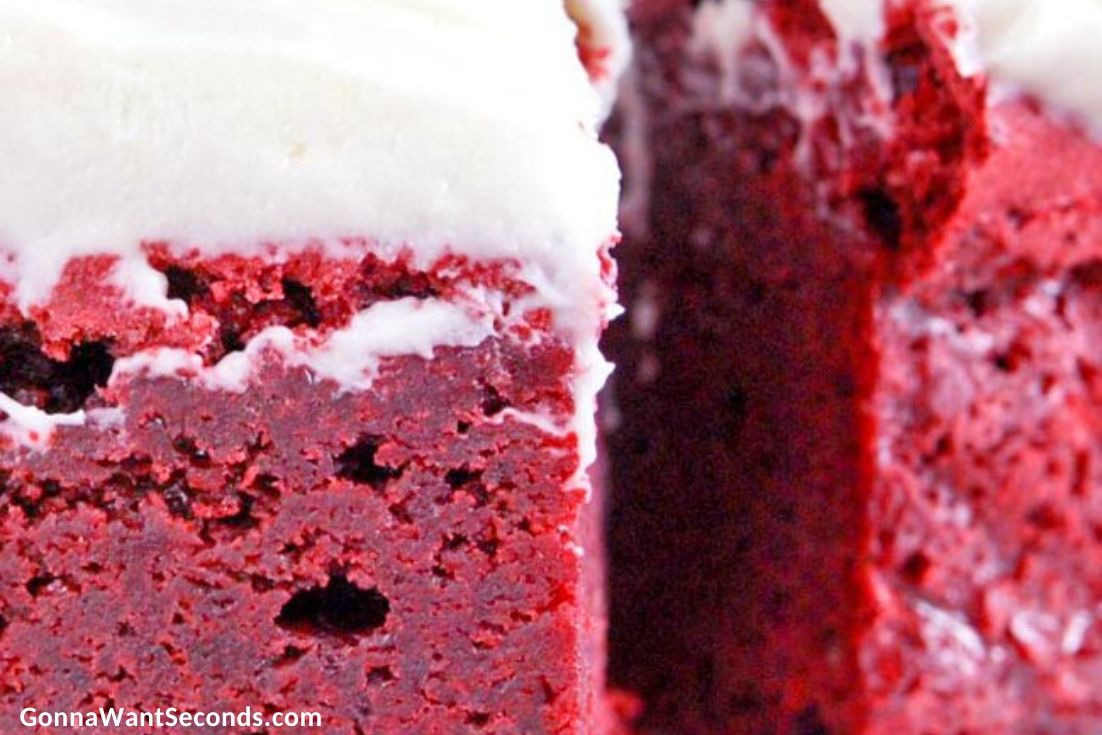
- Moist chewy cakey texture
- Rich tangy cream cheese frosting
- Fudgy texture that’s dense and chewy
Red Velvet Brownies Video Tutorial
Recipe Notes
Here’s the thing. Coaxing the right consistency out of this red velvet brownies recipe is a two-step process. The first step is gently combining the ingredients in stages as outlined in the recipe. This will keep your brownies from becoming tough. Mixing strengthens gluten so for a moist chewy brownie, don’t overmix the batter. It’s better to fold in the flour just until combined.
It’s also essential not to overbake your brownies or they’ll come out dry. Every oven is different, so you’ll want to bake your brownies just until the center is set. A toothpick should come out with a few crumbs on it but not totally clean.
Lastly, let your brownies cool completely before making the icing. I know it’s tough when that deep chocolate smell permeates the kitchen and beckons to every bone in your body but it’s for the good of your brownies.
Baking up red velvet cream cheese brownies uses wholesome familiar ingredients that may already be in your pantry. Trust me, this is the red velvet brownies recipe you’re gonna’ fall in love it. Here’s whatcha’ need to make ‘em!
For the Brownies
- Butter – I like to use unsalted butter for this recipe. It allows me to control the amount of added salt in the recipe. Check out this article for more on the differences between salted vs. unsalted
- Chocolate – Bittersweet chocolate is what you need here, roughly chopped for best results. It should be melted and warm but not scalding hot or it’ll cook the eggs when you add them.
- Food Coloring – Red, of course. It’s only for aesthetics and doesn’t affect the flavor so it’s okay to omit if someone has allergies.
- Baking- Don’t overbake or the brownies will be dry and they will lose its dense, fudgy texture. As with other brownie recipes, I bake until a toothpick inserted into the center comes out with a few moist crumbs.
For the Cream Cheese Icing
- Cream Cheese – You’ll want your rich savory cream cheese at room temperature.
- Butter – Again unsalted. Softened for best results but not melted. Your butter should spread easily but still hold its shape.
- Beating the frosting- Don’t overbeat or the frosting can become a runny mess.
How Long Can You Keep This In The Fridge?
Gotta store this red velvet brownies recipe in an airtight container in the fridge. The cream cheese frosting needs to be refrigerated and the brownies will stay moist and yummy if they’re protected from air. Sometimes I lay a piece of wax paper over the top of a Tupperware style container before securing the lid to keep them totally protected.
They’ll stay fresh and yummy for up to 4 days in the fridge. You’ll want to be sure that your fridge is set at or below 40 degrees Fahrenheit and reserve the FDA recommended 2-hour serving rule because of the cream cheese frosting.
Can You Freeze This?
Yes. Freezing is easy. You can freeze this red velvet brownies recipe with or without the icing.
Technically, you can freeze them cut or uncut. However, if you’re freezing them with the icing, I recommend uncut. This allows you to lay a piece of wax paper over the top of your brownies and save your icing.
Make Ahead Tips
Preparing ahead of time is easy. There’s not really any prep since they only take 10 minutes to get into the oven. But, these brownies are fantastic to make ahead of time.
I like to bake up a couple of batches and toss them into the freezer. When I’m ready to thaw and serve, that’s when I make a batch of icing. Then I have freshly, prettiest iced red velvet brownies that are as moist and delicious as they come!
Recipe Variations
- Bake it into a cake. Make red velvet bundt cake with a bundt pan or line them up in cupcake pans to get red velvet cupcakes.
- Turn it into cookies. Who can resist a red velvet cookie? Try these for tasty red velvet white chocolate chip cookies or put together a treat that’s even fudgier like red velvet crinkle cookies.
- Make balls. Whip up something special for your fam or “the one” with red velvet cake balls with lots of love! A huge reader favorite for years!
- Add filling. Stuff 2 soft, cakey cookies with the cream cheese filling and you’ll get red velvet whoopie pies.
- Add Oreos. Got some Oreos in the pantry? Level up your brownies with red velvet oreo brownies! Just crush ’em up and sprinkle over the brownies as much as you want!
More Brownies Recipes
Red Velvet Brownies
Ingredients
Brownies:
- 4 ounces bittersweet chocolate chopped
- 3/4 cup unsalted butter
- 2 cups sugar
- 4 large eggs
- 1 1/2 cups all-purpose flour
- 1 (1-ounce) bottle red liquid food coloring
- 1 1/2 teaspoons baking powder
- 1 teaspoon vanilla extract
- 1/8 teaspoon salt
Cream Cheese Frosting:
- 8 ounces cream cheese at room temperature
- 3 tablespoons unsalted butter softened
- 1 1/2 cups powdered sugar
- 1/8 teaspoons salt
- 1 teaspoon vanilla extract
Instructions
- Preheat oven to 350°. Line a 9-inch square pan with aluminum foil, allowing 2 to 3 inches to extend over sides; spray with nonstick cooking spray.
- Place chocolate and butter in a microwave-safe bowl and melt on high for 1-1 1/2minutes. Stir until smooth. Stir in sugar. Add in eggs, 1 at a time, stirring just until incorporated. Stir in flour, food coloring, baking powder, salt, and vanilla. Pour batter into prepared pan.
- Bake in preheated oven until a wooden pick inserted in center comes out with a few moist crumbs, about 44 to 48 minutes. Set pan on a wire rack and cool completely(about 2 hours).
- When brownies are cool make the frosting. Beat cream cheese and butter on medium speed with an electric mixer until creamy. Gradually add powdered sugar and salt, beating until blended. Stir in vanilla.
- Lift brownies from pan, using foil sides as handles; gently remove foil. Spread Cream Cheese Icing on top of brownies, and cut into 16-20 squares. Garnish, if desired.
Fans Also Made:
Nutrition
Reader Interactions
Comments
Trackbacks
-
[…] more About Red Velvet Brownies-Fudgy, Chocolaty With The Perfect Amount of Wonderful Cream Cheese Frosting!R… […]
-
[…] Go to full Instructions […]
-
[…] Please look preparation method at :gonnawantseconds […]



Hi
These look yummy and I’d like to try making them. Do they have to be refrigerated since they have cream cheese frosting?
Thanks
Hi Lyn. Yes they do need to be refrigerated 🙂
Could this be made for a keto version using almond flour instead of regular flour?
Hey Tameeka! Keto baking is a real specialty. I’m sorry I don’t have any experience making this recipe keto 🙁
I need to use carob instead of real chocolate due to allergies. Your recipe calls for 4 oz chopped chocolate so how much carob powder would I use? Red velvet is my son’s favorite and unfortunately he is allergic to chocolate and he tries to stay away from chocolate.
Thank you, Gwen
Hi Gwen. I’m sorry but I haven’t made this recipe with carob powder so I cant advise. Sorry about that and best of luck!
The recipe was written using a 9″ square pan; if Abby used a 9″x13″ pan that would explain why her brownies weren’t as thick. It also would explain why they were done in less time… I haven’t tried them yet, but they sound delicious!
Hey Amy! I’ve done stuff like that too many times to count!
Just pulled these out of the oven, taking them to a friend’s party tomorrow. They came out perfectly. I used an 8×8 and baked for 45 minutes. Very thick. They are cooling now and I am preparing the frosting. I have never baked anything from scratch before and did not have any trouble. Thank you!
Thanks so much for sharing Cassidy. So glad you liked the recipe 😉 Enjoy them!
Baked these tonight. Was a bit disappointed on how thin they were considering those in the picture look nice and thick. Possibly would double next time if using 9 X 13 pan. Also, 40-45 minutes was entirely too long. Would probably be fine if recipe was doubled but certainly will over cook based on the original recipe above.
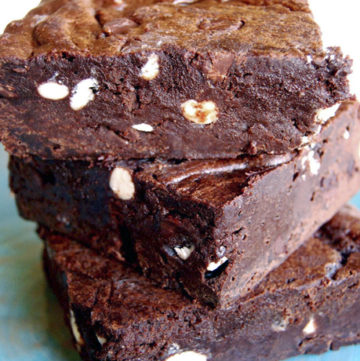
Hi Abby. Hmmm. I’ve made these a lot and the recipe always seems to work really well. I wonder if you might be experiencing an oven temperature variance? Regarding the photo, I definitely took a close up so do you think that made them seem super thick? I’m not sure. I wonder if anyone else has had that experience and if so if I should change the photo. They seem to me to be standard brownie thickness.
Baked these this afternoon, sooooo good!
Oh wow, those look like perfection to me!! GREAT job!
Wow, this brownies look amazing!! I’m definitely baking these tomorrow.
oh wow, they are just gorgeous and look so moist. delicious!
this is red velvet heaven!!
Mary x
we included the red velvet cookies in our holiday cookie plates and they were a huge hit…now i need an excuse to make these brownies! they look delicious!!!!!!